Introduction to JupyterLab on CopPhil
JupyterLab on CopPhil gives you access to a Linux instance on which JupyterLab is running. There, you can, among others:
execute Python commands found in Jupyter notebooks,
edit text files,
temporarily store data
In this article, we will cover how to get started with JupyterLab on CopPhil.
Prerequisites
No. 1 Account
You need a CopPhil account. See Register and create a new account on CopPhil
No. 2 Access to JupyterLab
JupyterLab used in this article is available here: https://jupyter.infra.copphil.philsa.gov.ph/hub/login?next=%2Fhub%2F.
What We Are Going To Cover
Accessing JupyterLab
Creating a Python Jupyter notebook from Launcher
Using cells in a Jupyter notebook
Entering Markdown text
Running sample Python code
Reopening the Launcher
Accessing file browser
Using Linux terminal
Installing packages from pip
Restarting Jupyter kernel
Lifecycle of JupyterLab instances and storage
What is kept?
What is deleted?
Accessing JupyterLab
Navigate to https://jupyter.infra.copphil.philsa.gov.ph/hub/login?next=%2Fhub%2F. You are greeted with the following screen:
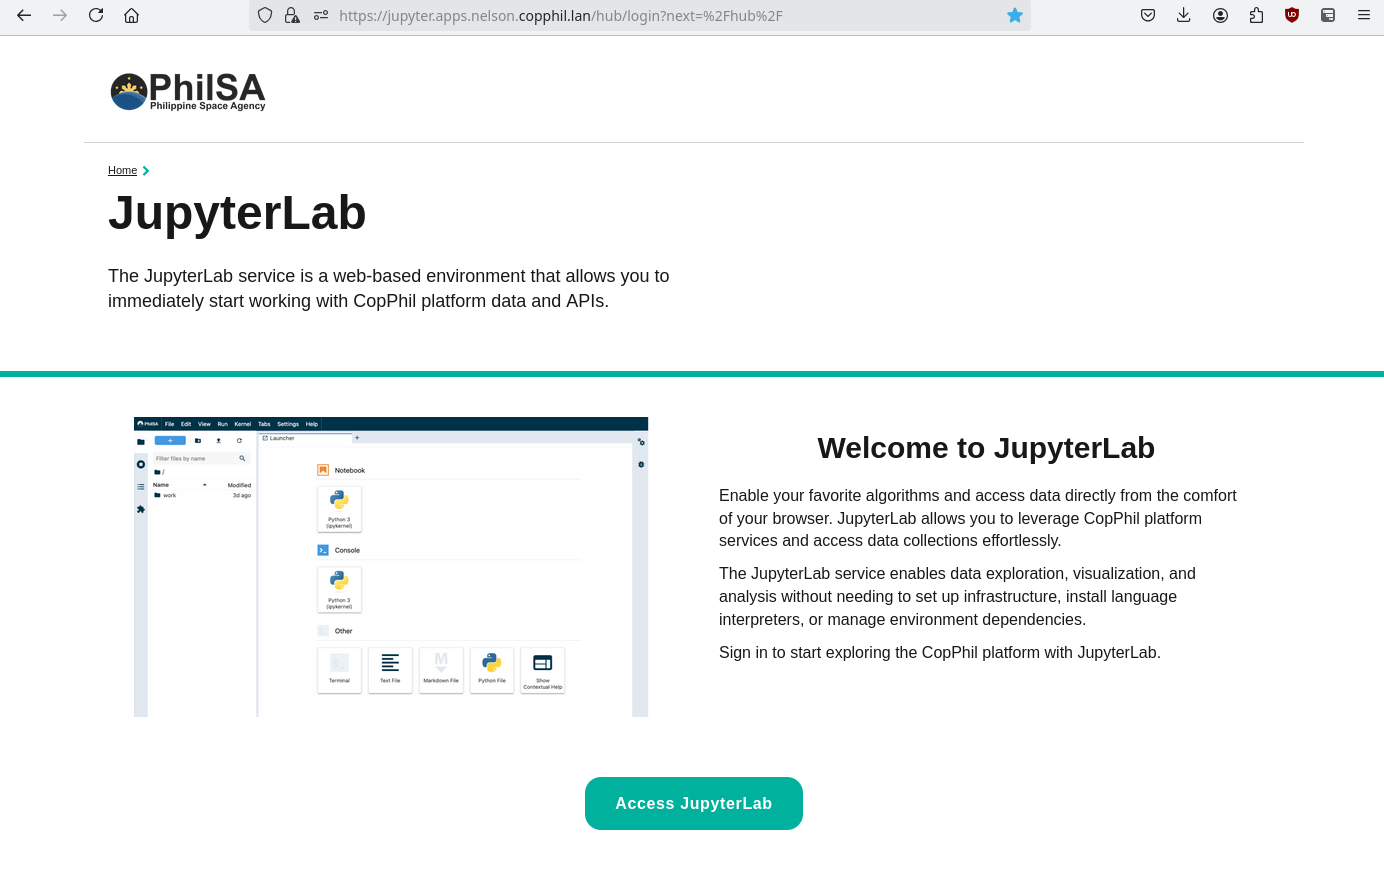
Click on Access JupyterLab. Enter you credentials for CopPhil site:

You should be prompted to choose size of server which you want to use:
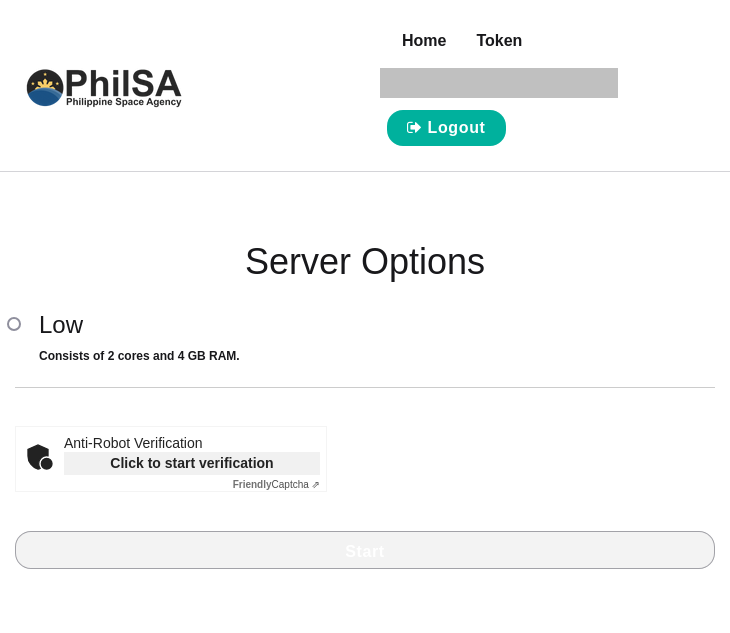
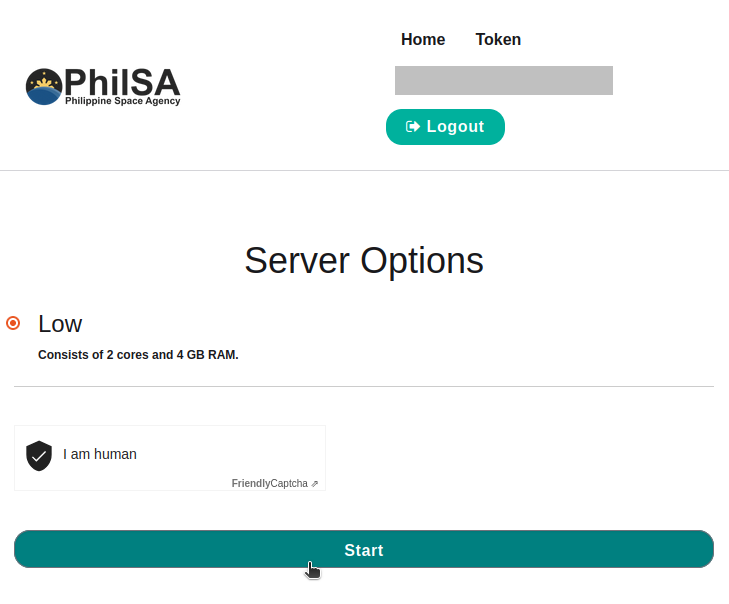
Click Click to start verification to pass the captcha test.
Depending on your quota, you might see more flavor(s) here.
Either way, for now choose the smallest server size possible and click Start:
Wait up to a couple of minutes until your server starts.
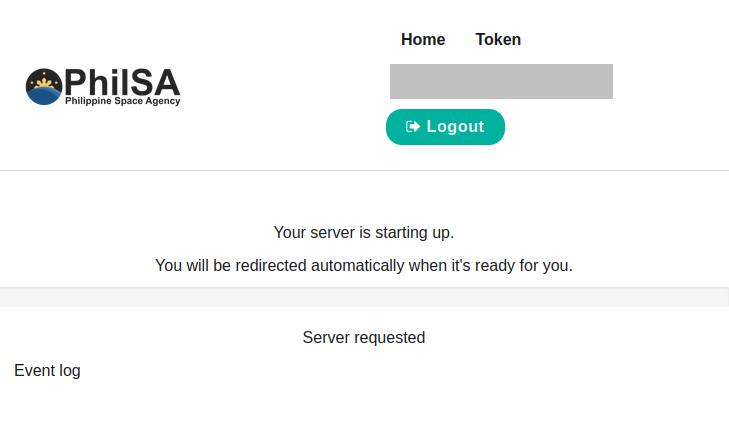
Eventually, you should see the interface of JupyterLab.
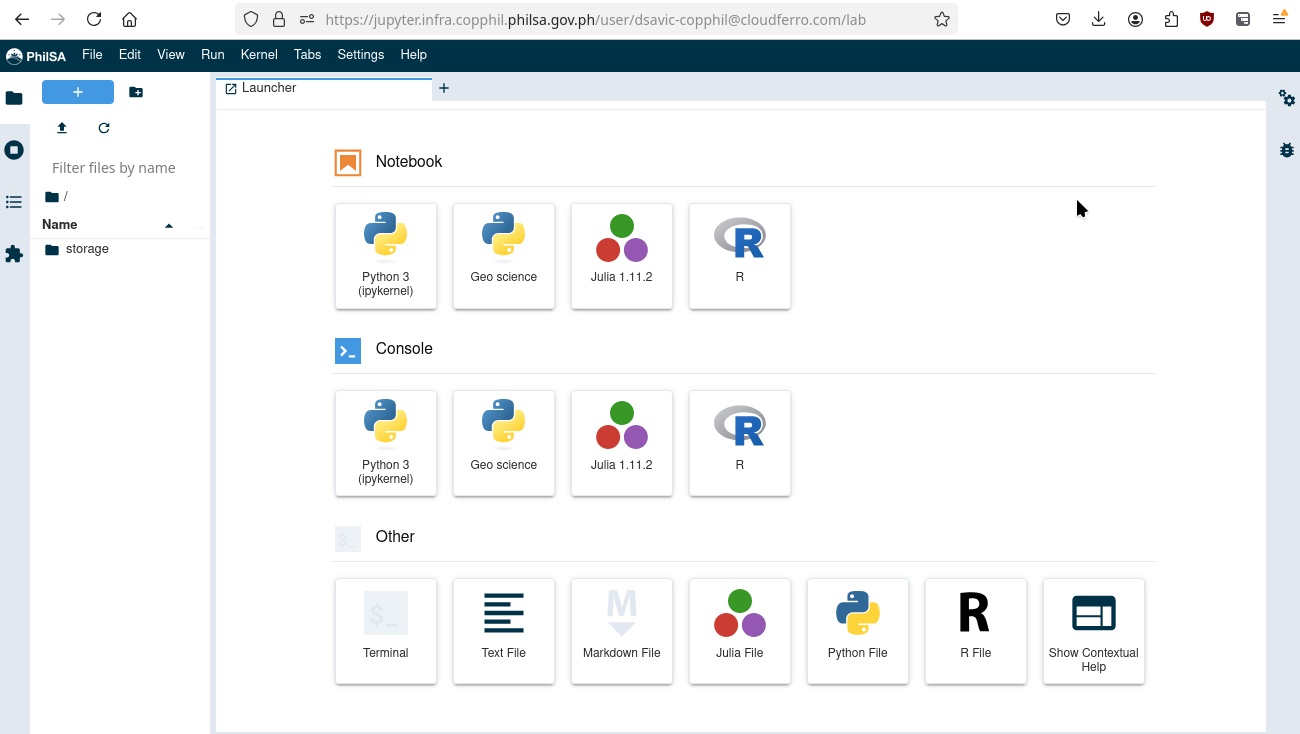
By default, only one tab should be opened - the Launcher which includes functionality such as creating a new notebook or starting a Linux terminal.
Creating a Python Jupyter notebook from Launcher
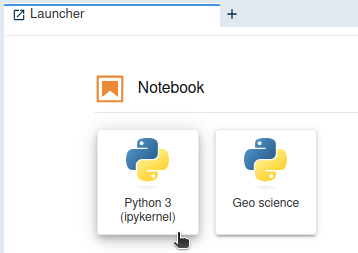
To create a Python notebook, click Python 3 (ipykernel) in the Launcher.
This should create a file named Untitled.ipynb:
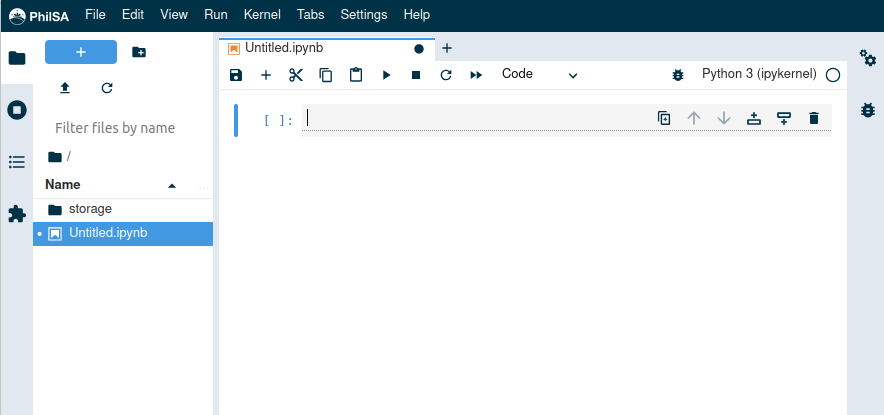
.ipynb is the standard extension for Python Jupyter notebooks.
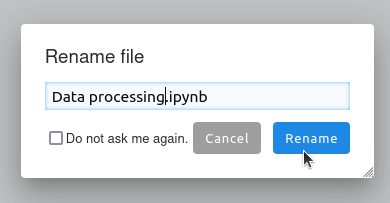
To rename the file and save its contents, click floppy disk icon:
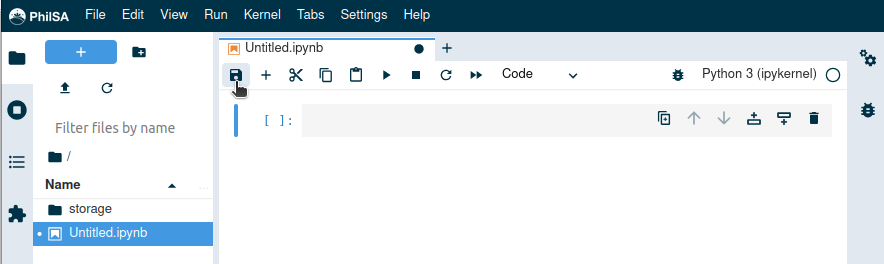
Enter the name of your choice, for example Data processing.ipynb and press Rename:
Click this floppy disk icon each time you want to save your file.
Using cells in Jupyter notebook
Python Jupyter notebooks consist of cells. Each cell can have one of the following data types:
- Code
The default type. Allows you to enter code which can then be executed and its output displayed in that cell.
- Markdown
Allows you to write text and format it using Markdown. You can even use LaTeX for mathematical formulas. Useful for providing comments and explanations to the code and its output.
- Raw
Plain text cells. They cannot be executed but are useful to store notes or raw content. They are rarely used, and therefore we will concentrate on Markdown and Code cells in the remainder of this article.
Entering Markdown text
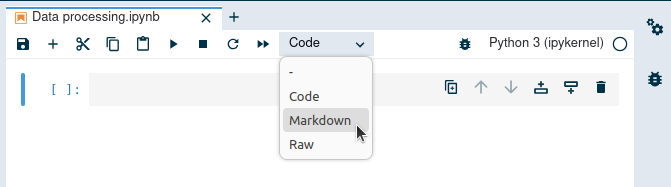
The toolbar contains a drop-down menu which allows you to choose type of the chosen cell. To write Markdown text, choose Markdown from that drop-down menu:
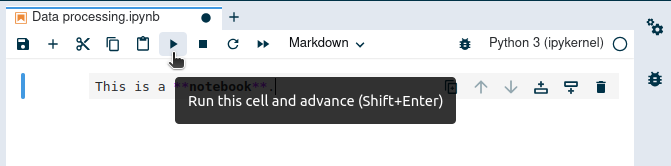
You can now write Markdown code, for example:

To apply Markdown formatting, press Shift+Enter on your keyboard. Alternatively, you can click the play icon on the toolbar.
Either way, the text should be formatted:
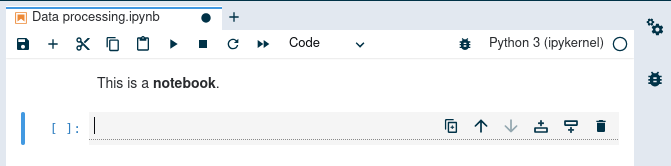
Running sample Python code
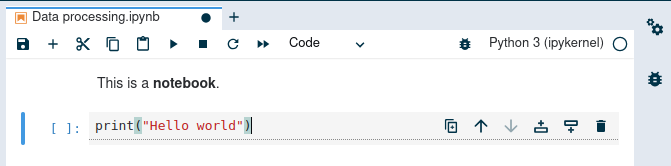
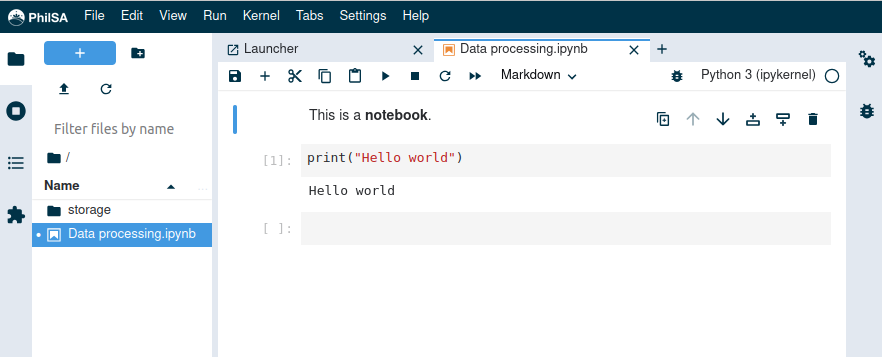
Below that Markdown text you’ve just added another cell appeared. By default, it is of type Code. Let’s use it to verify that Python works.
Click on that cell and enter an example command, for example:
print("Hello world")
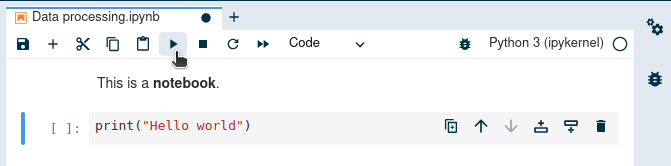
Again, press Shift+Enter on your keyboard or click the play icon on the toolbar to execute that code.
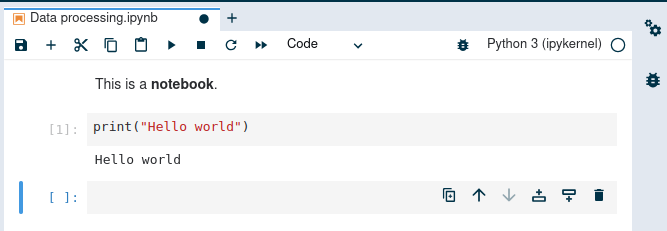
The notebook should display the output of command:
Reopening the Launcher
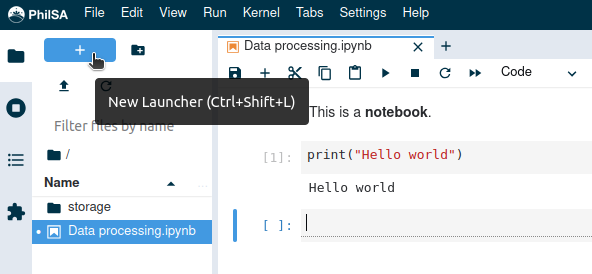
To reopen the Launcher (for example to open another file), click the plus icon near the top left corner of the website:
Accessing file browser
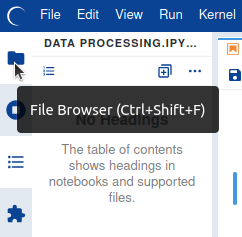
The left bar has the following functions:
File Browser
Running Terminals and Kernels
Table of Contents
Extension Manager
The first button corresponds to File Browser:
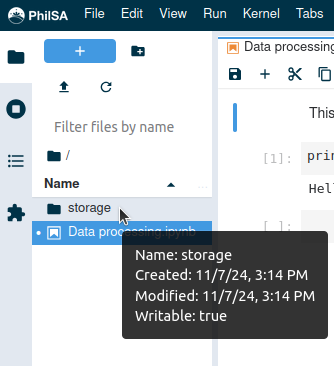
You should now see the contents of your home directory.

The path from your home folder to your current working directory should be displayed below the text field Filter files by name
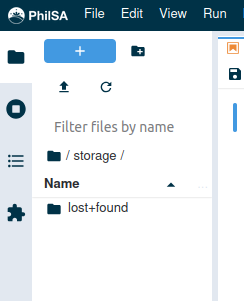
To navigate to a folder, double-click on it:
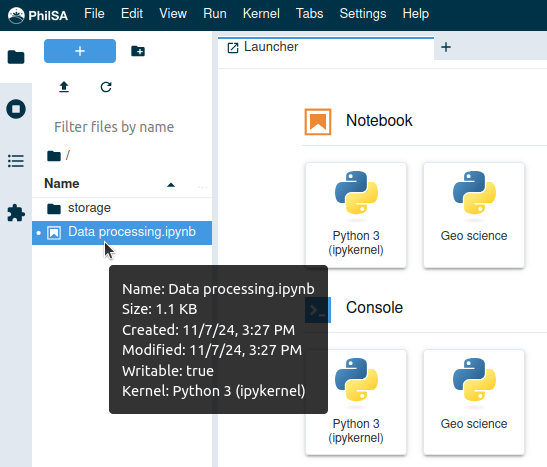
To open an existing file in new tab, double-click on it:
Using Linux terminal
You can also access the Linux terminal which is running on the JupyterLab instance you are using.
It can be used, among others, for:
file management
git and version control
downloading files with wget
running scripts
installing pip packages
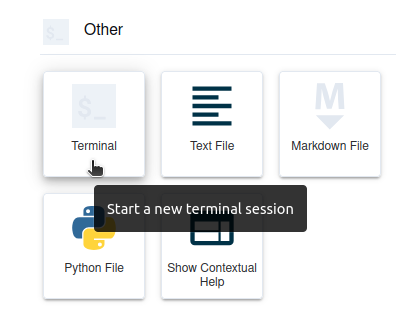
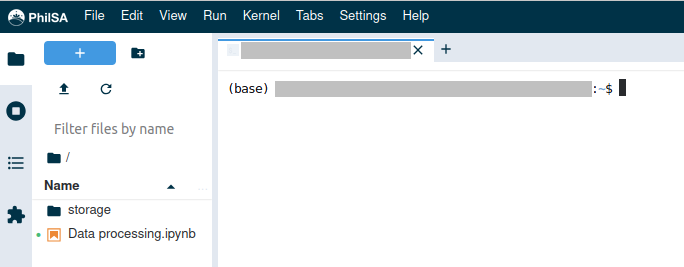
From the Launcher, in section Other, click Terminal:
You should now see the terminal:
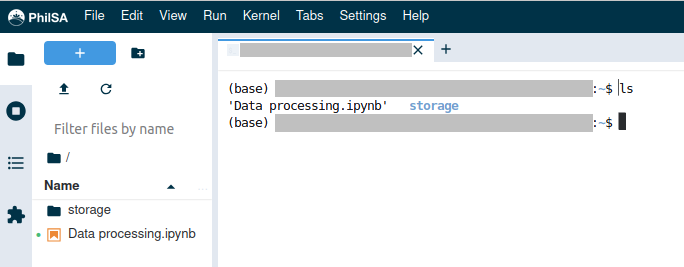
To test it, you can execute the command ls:
Installing packages from pip
You can install packages using pip either from the terminal or from your notebook.
In both cases, you can install them with a command like this:
pip install packagename
where packagename is the name of package you want to install. See section Restarting Jupyter kernel to learn more.
If the package is not visible after installation, restart Jupyter kernel.
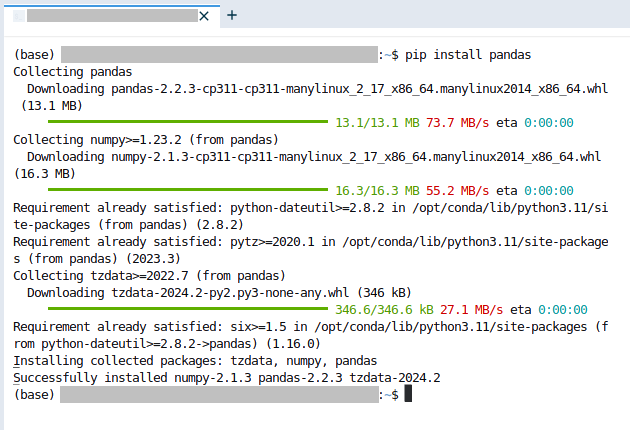
Example 1: Installing package in terminal
In this example, we install pandas, which is a Python library used in data analysis.
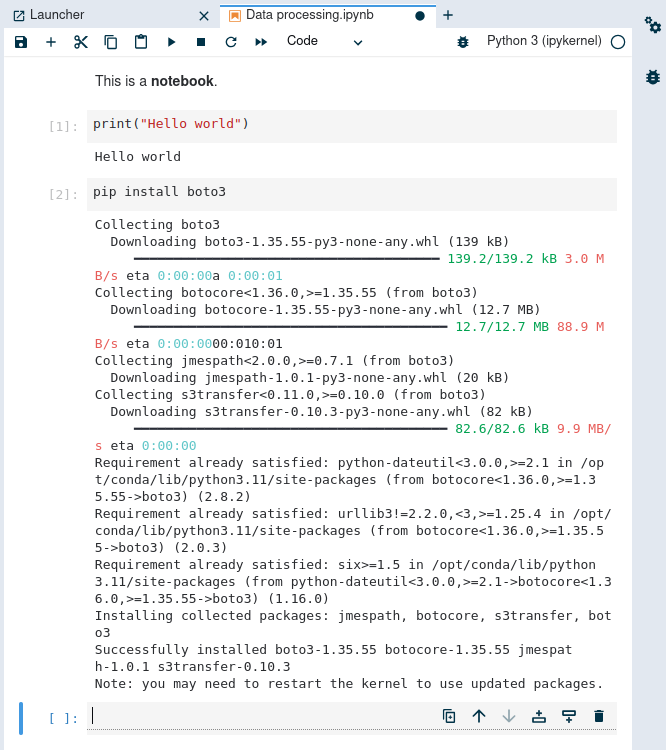
Example 1: Installing package in notebook
In this example, we install boto3, which is a Python library used to, among others, interact with S3 storage.
Restarting Jupyter kernel
The term kernel here does not refer to the kernel of the operating system you are using, but to piece of software which runs commands from your notebooks.
Restarting that kernel means that you lose all variables you set.
To restart Jupyter kernel, first make sure that you are in a file which uses that Kernel. Then, from menu Kernel found on top of the web site click Restart Kernel…
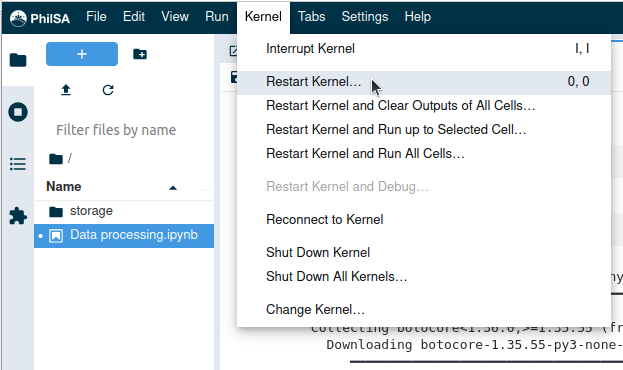
You should get question similar to this:

Click Restart to confirm.
Lifecycle of JupyterLab instances and storage
On CopPhil, each JupyterLab instance remains running while the user is active on it, as well as an additional 8 hours.
After that, you need to create another JupyterLab instance.
What is kept?
All data stored in folder mystorage which is located in your home directory is kept for 15 days after last login. They will be available on your next instance.
What is deleted?
All files outside of mystorage folder are deleted. This includes any packages installed with pip - you will need to reinstall them on the new instance.
What To Do Next
Additional details about JupyterLab environment:
Python 3 kernel and Geo science kernel in JupyterLab on CopPhil
Using tokens for API access to JupiterLab on CopPhil
To learn how to access EODATA using Python, check Download satellite data using API on CopPhil
Use CopPhil JupyterLab and Python to find all Sentinel 2 products over Manila in 2024