Using tokens for API access to JupiterLab on CopPhil
Tokens are a guarantee that your data will be safe while travelling around the Internet.
Prerequisites
No. 1 Access to CopPhil site
You need a CopPhil account. See articles
Register and create a new account on CopPhil
Managing an existing account on CopPhil
No. 2 Working knowledge of JupyterLab
See article Introduction to JupyterLab on CopPhil
No. 3 Selected role for access to JupyterLab
The role and access for using JupyterLab is defined in My Services option, see article How to request for roles on CopPhil.
Accessing JupyterLab
Navigate to https://jupyter.infra.copphil.philsa.gov.ph/hub/login?next=%2Fhub%2F. You are greeted with the following screen:
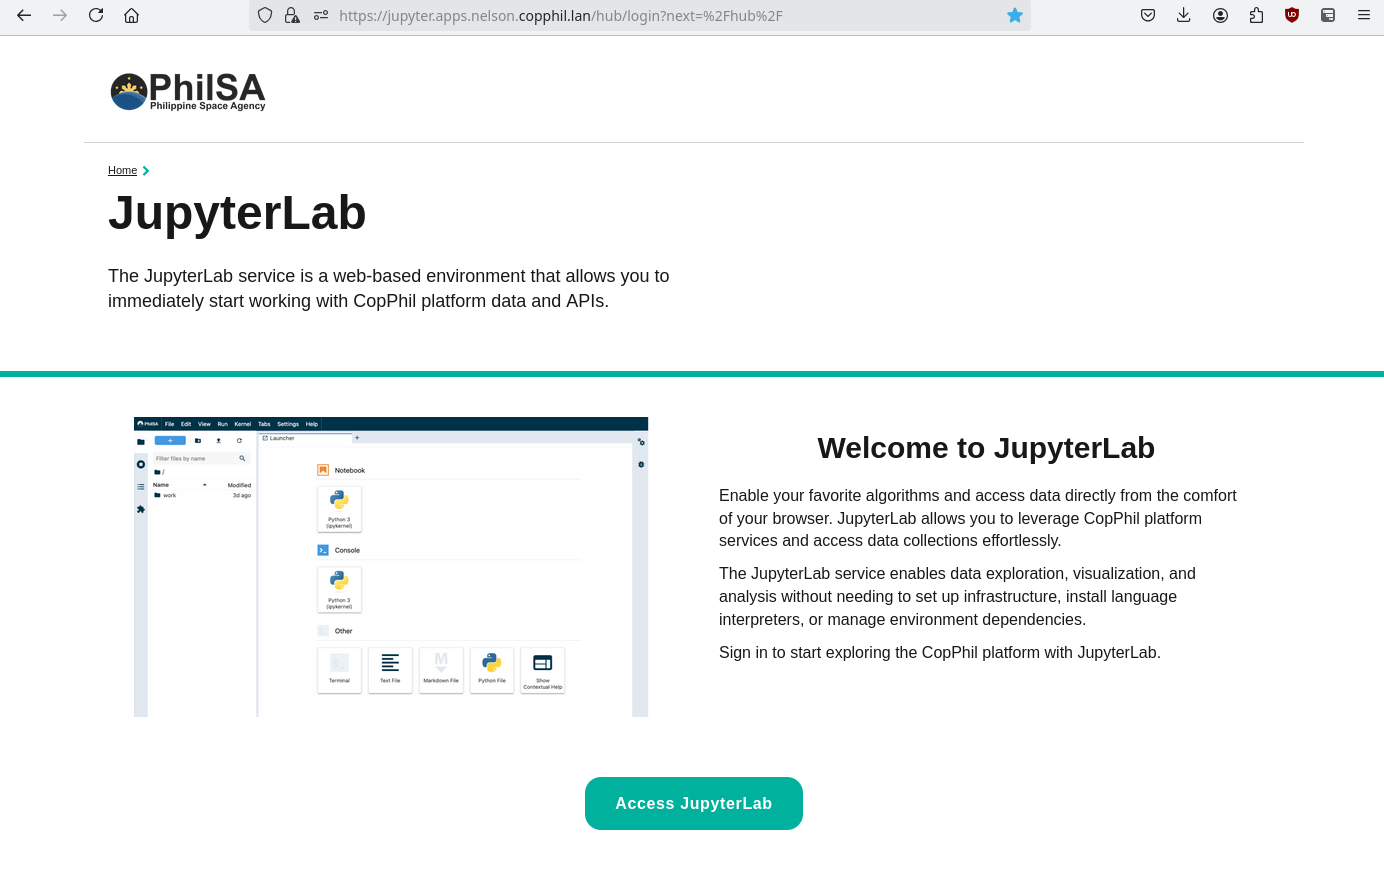
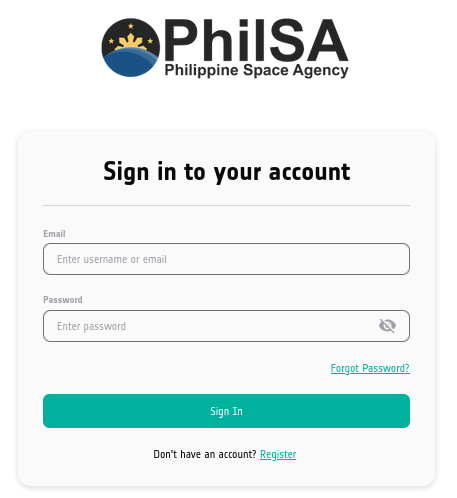
Click on Access JupyterLab. Enter you credentials for CopPhil site:
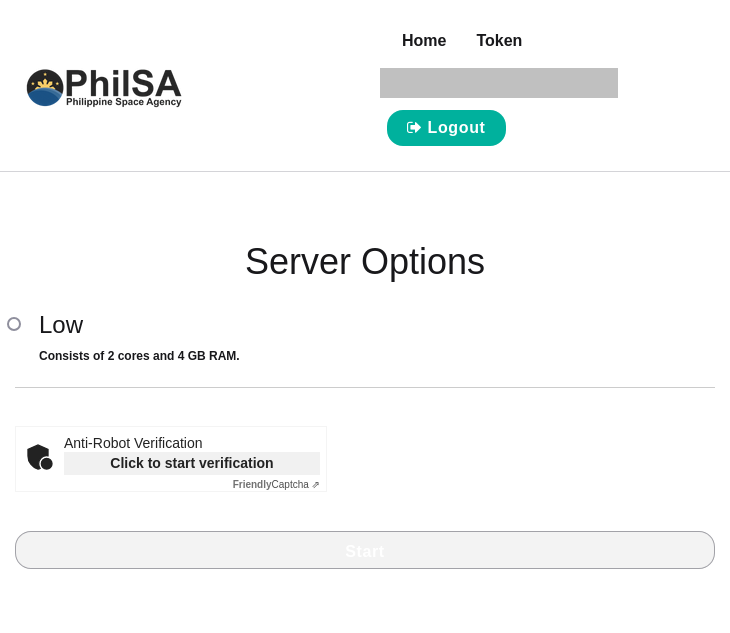
You should be prompted to choose size of server which you want to use:
Now click on option Token and see the following screen:
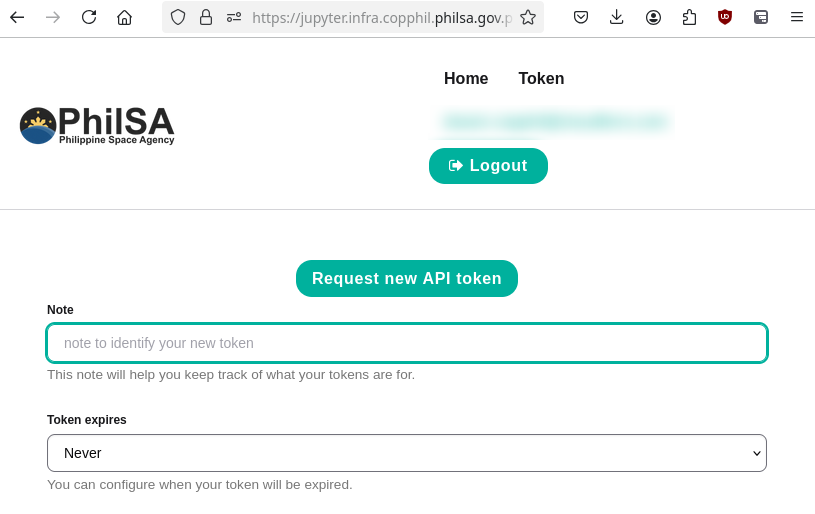
Enter the name for the token and select when will the token expire, then click on button Request new API token.
This is the next screen:
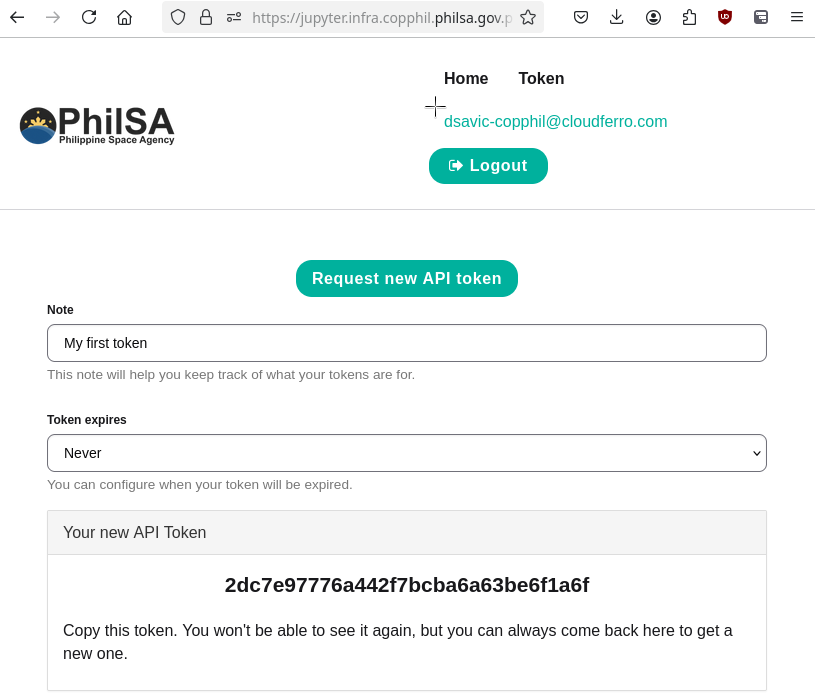
where the new token will be shown. Copy it to a safe place as you will need it for use in Python programs which will access JupyterLab environment through the API.
You may have two or more API tokens at the same time.
It is possible to revoke the token but that would mean restarting the server, which might lead to data and/or code loss.
Start the server
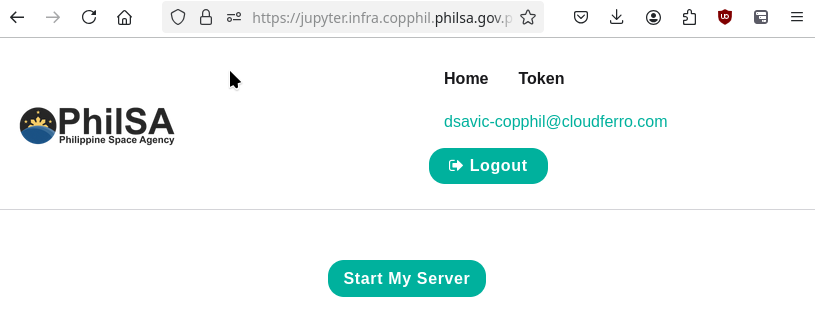
The first step after creating a token is to click on Home button, which will provide you an opportunity to start the server:
Server options will appear, click on the role you have (here, it is Low) and click on Start.
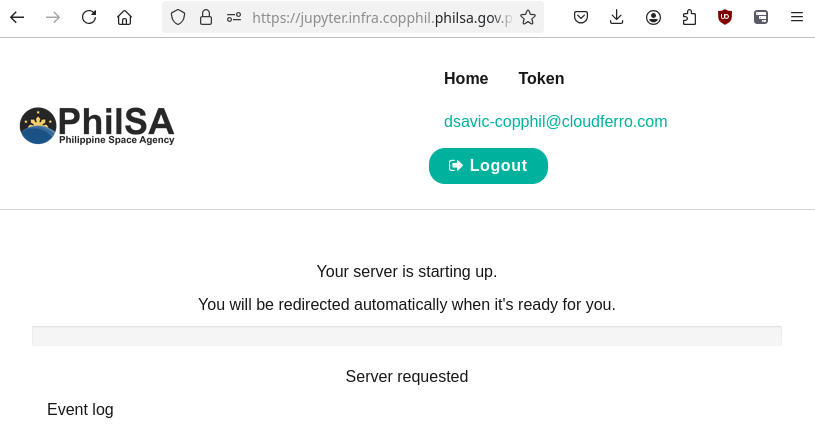
The server is going to start:
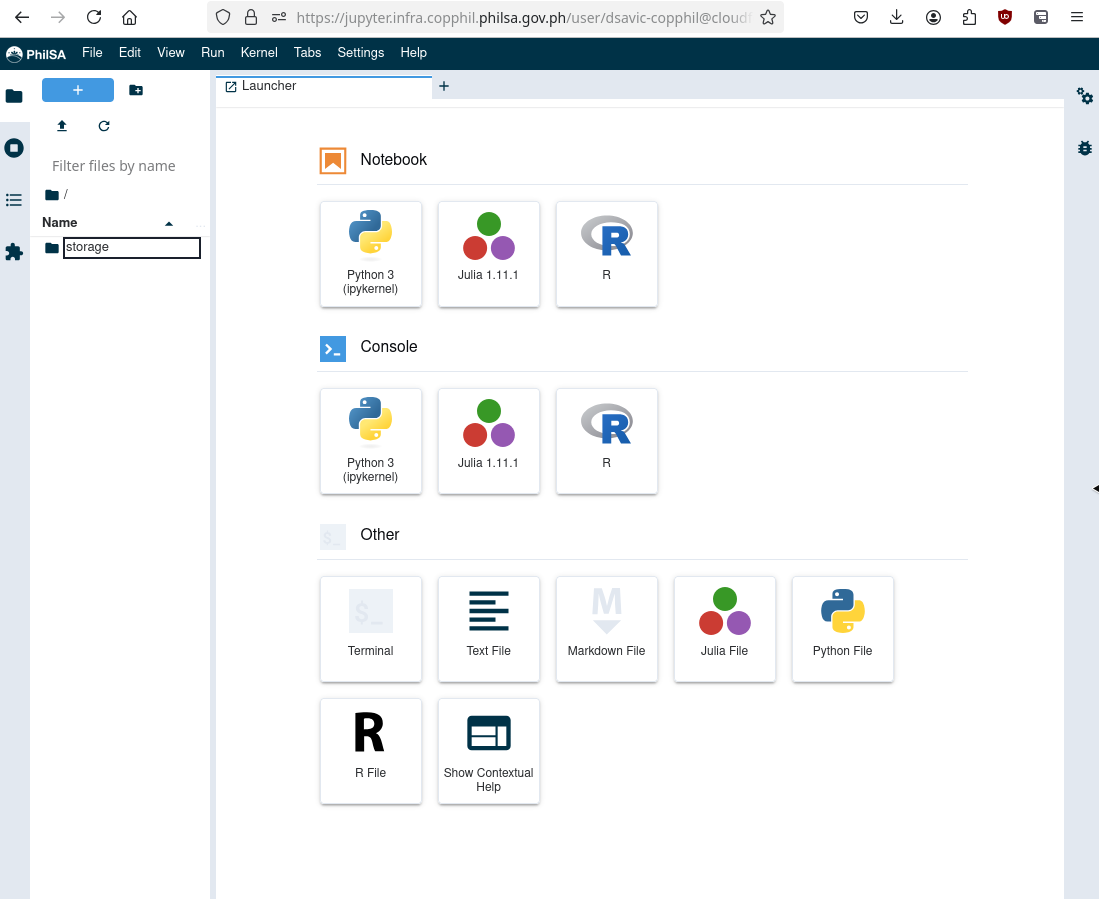
Finally, JupyterLab will start:
“Hello, world” code using API token for JupyterLab
“Hello, world” app is the first app to run on a new environment and its purpose is to print something meaningful on the output device. Here the environment is JupyterLab and instead of just “Hello, world” we shall also get the root of the operating system on which it is running and print it.
Here is the code in Python:
import requests

# Configuration
site_address = "https://jupyter.infra.copphil.philsa.gov.ph"  # Base site address
username = ""  # Replace with your username
token = ""  # Replace with your actual token

# Construct the JupyterLab URL for the user
jupyterlab_url = f"{site_address}/user/{username}"

# API Endpoint: Get contents of the root directory
api_endpoint = f"{jupyterlab_url}/api/contents/"

# Authorization headers
headers = {
    "Authorization": f"Token {token}"
}

try:
    # Make the GET request
    response = requests.get(api_endpoint, headers=headers)

    if response.status_code == 200:
        print("Hello, World! Here is the root content of the JupyterLab server:")
        print(response.json())  # Root directory content as JSON
    elif response.status_code == 404:
        print("Error: Endpoint not found. Check the URL and ensure JupyterLab is running.")
    elif response.status_code == 403:
        print("Error: Forbidden. Check your token and permissions.")
    else:
        print(f"Unexpected error: {response.status_code}")
        print("Response:", response.text)
except requests.exceptions.RequestException as e:
    print("Failed to connect to the JupyterLab server. Error:", str(e))
This is the result:

What To Do Next
You can now run the following collections of EO data articles, running on CopPhil JupyterLab: