How to request for roles on CopPhil
Roles allow you to access different features of CopPhil cloud, such as JupyterHub.
In this article, you will learn how to request for roles.
Prerequisites
No. 1 Account
You need an account on CopPhil cloud: Register and create a new account on CopPhil
Also, you must have an Organization. See this article: How to create an organization on CopPhil.
No. 2 Definition of roles available on CopPhil
The available roles are defined in article Roles definition on CopPhil
What We Are Going To Cover
Choosing which role to request
Requesting access roles and quota roles
Checking status of role requests
Choosing which role to request
If needed, sign in to CopPhil MyServices using this link: http://application.infra.copphil.philsa.gov.ph/
Click on Active roles to see what roles do you currently have. For a User without any additional roles, the view would be like this:
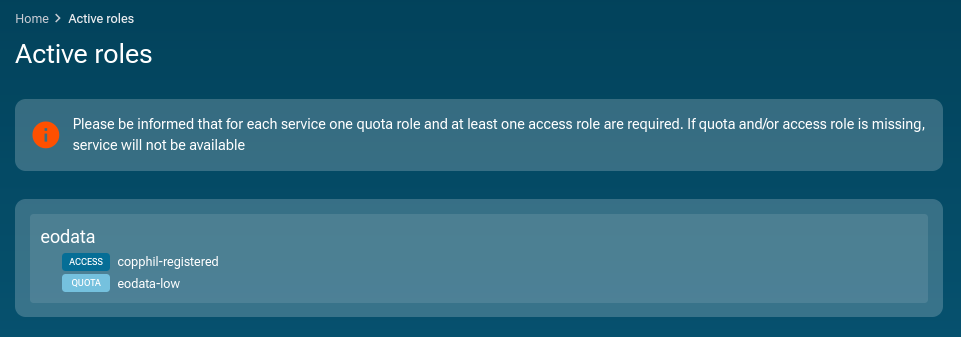
That is because after registration you are automatically assigned minimal access and quota roles to EO data. This way, you have access to some functionalities of CopPhil from the very start.
Click on Role requests:

You should see Role requsts page, similar to this:
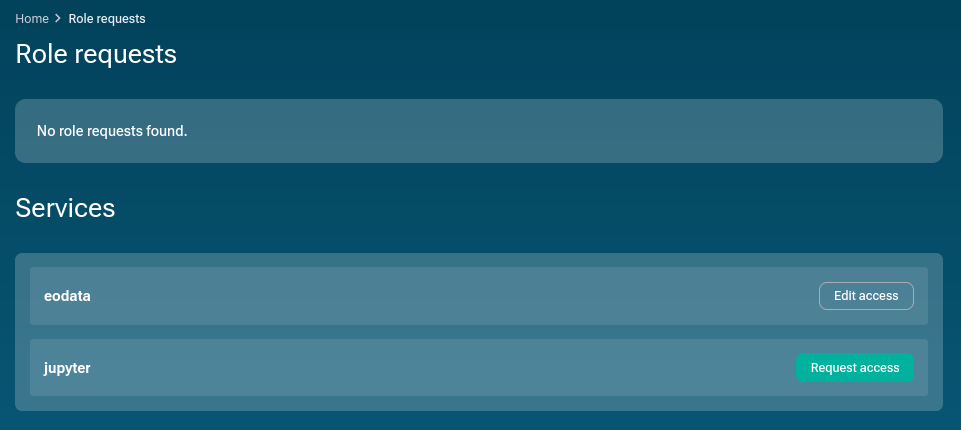
Click Request access next to the name of the role you wish to obtain.
In this example, we will request for jupyter role:
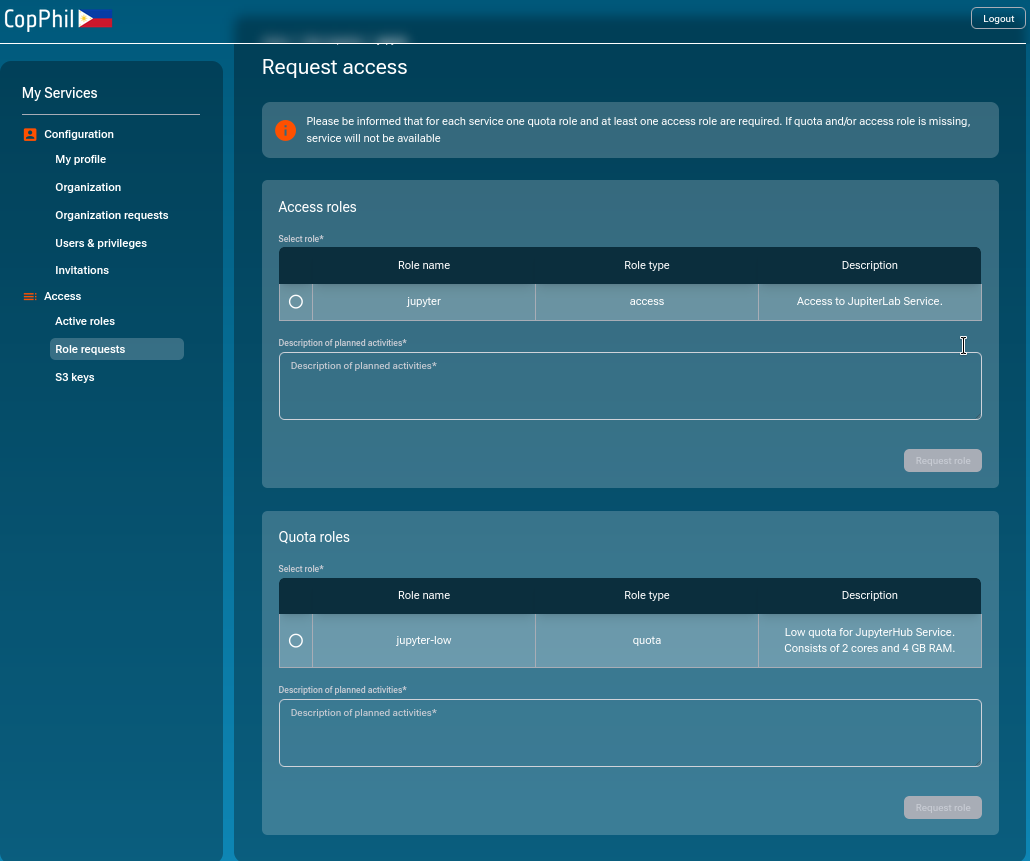
You should be transferred to page entitled Request access which has two sections: Access roles and Quota roles. You need both these roles to use the corresponding service, so you should fill both of these forms.
Scroll down to see the Quota roles part if you cannot see it right away.
Requesting Access roles and Quota roles
In Access roles, select radio button in the row containing the role you wish to obtain. Add the description of planned activities.
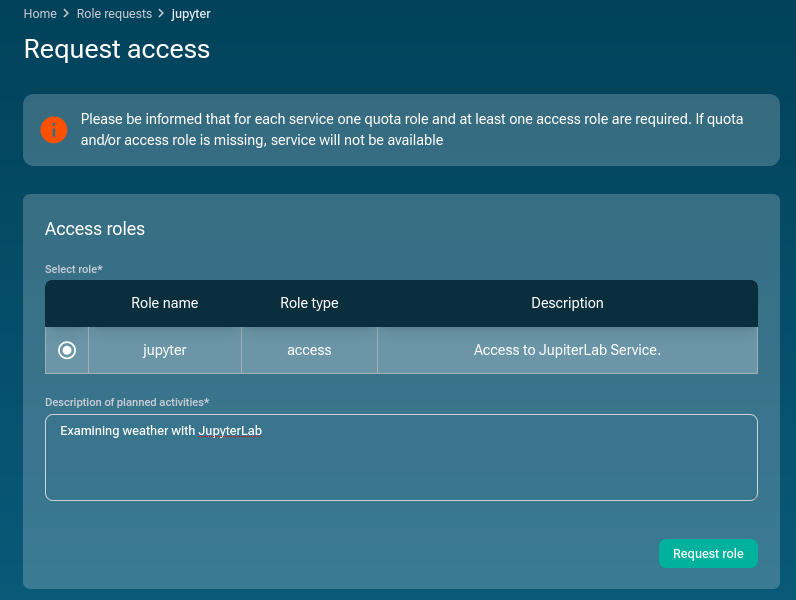
Click Request role; the form you’ve just filled in should disappear, but at the bottom right corner of the page you should get the following confirmation:

Now, fill in the form entitled Quota roles.
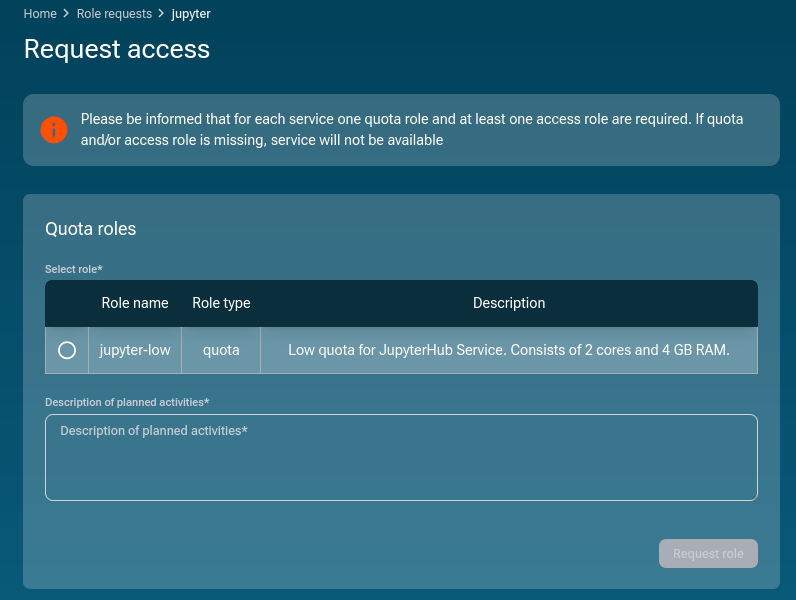
Choose desired quota and once again provide description of planned activities. Click Request role.
You should once again see confirmation that Role request has been created.
Details of role requests
You can now see your new role requests. They are pending – waiting for the operators of CopPhil to resolve them:
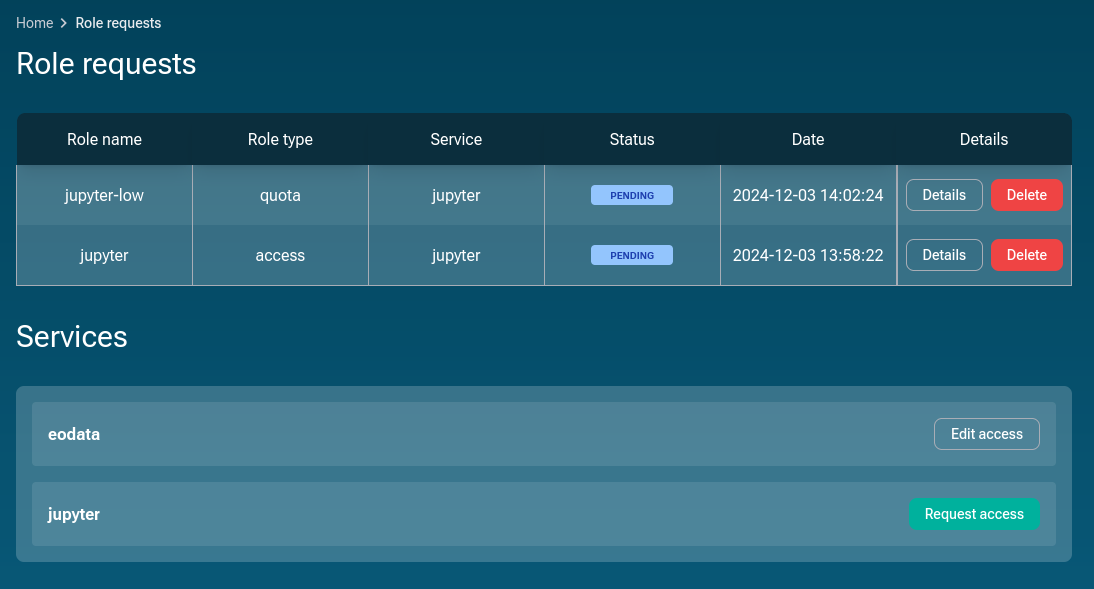
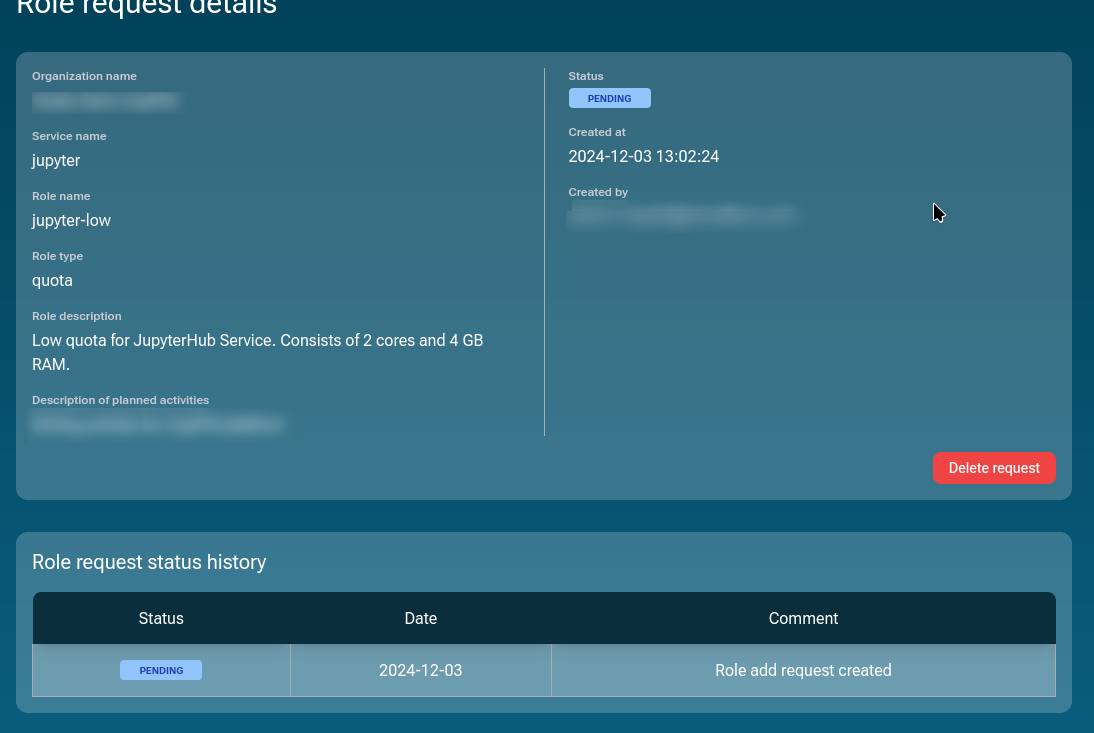
Click on Details for jupyter-low role name and see the details of the request:
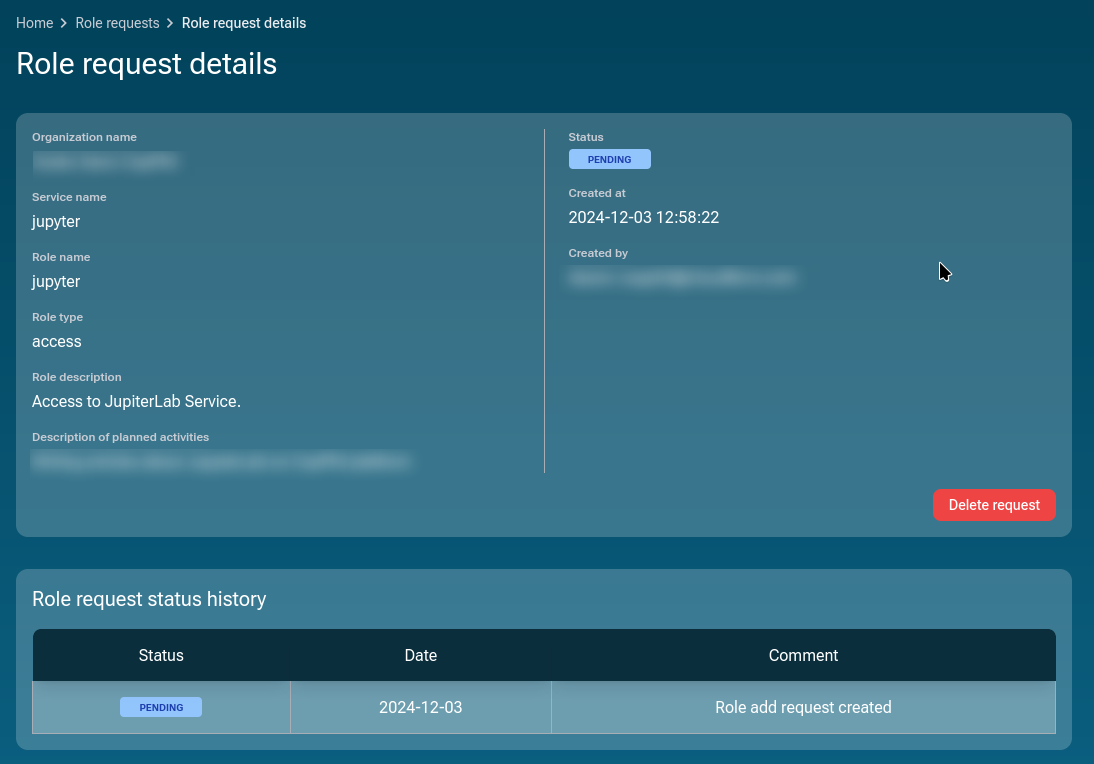
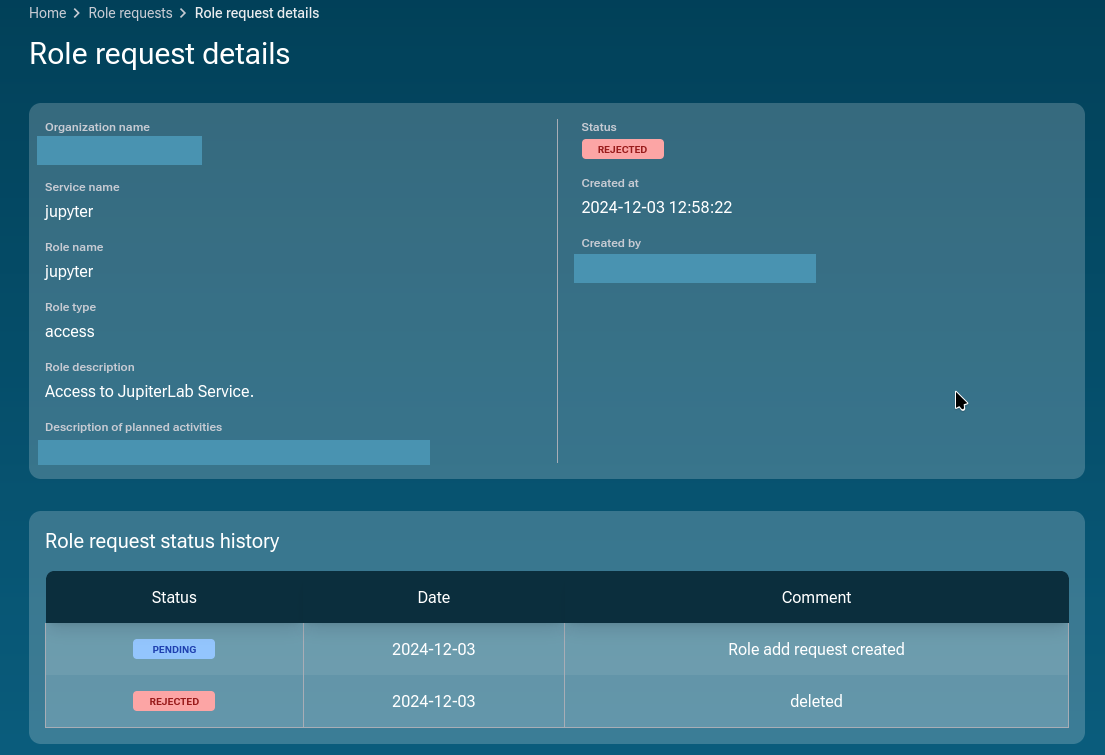
Similarly, click on Details for access to JupyterLab Service and get:
Deleting a request
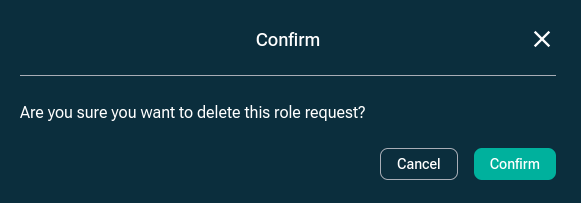
From the details screen you can click on red button Delete request and delete it. You will first have to confirm that you want to delete it:
If confirmed, you will get a message in the lower right corner of the window that the role request has been deleted successfully:

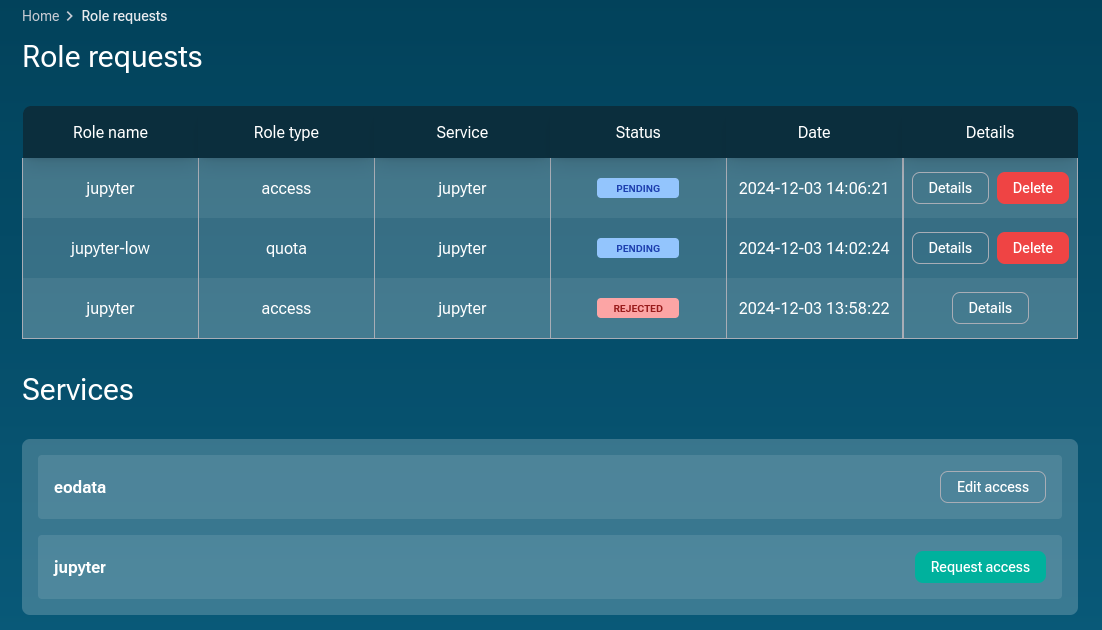
As a result, an entry with status REJECTED will become visible:
The Role requests windows will show the history. Here we have generated another request for jupyter rolled instead of the one that has been deleted:
Checking the status of role requests
Wait until operators of CopPhil process your requests.
To check the current status of your requests, refresh the page.
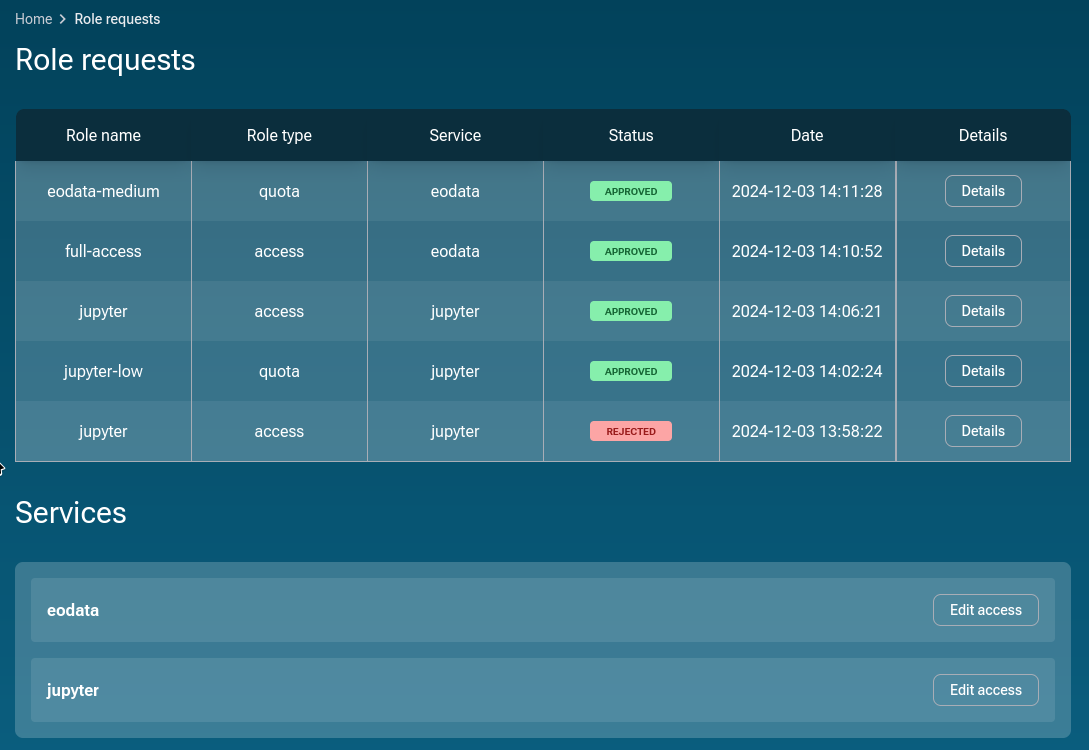
Once the requests are accepted, they will have APPROVED as their Status. Here is the whole history of role requests in this case:
You will also see it at a glance from Active roles page:
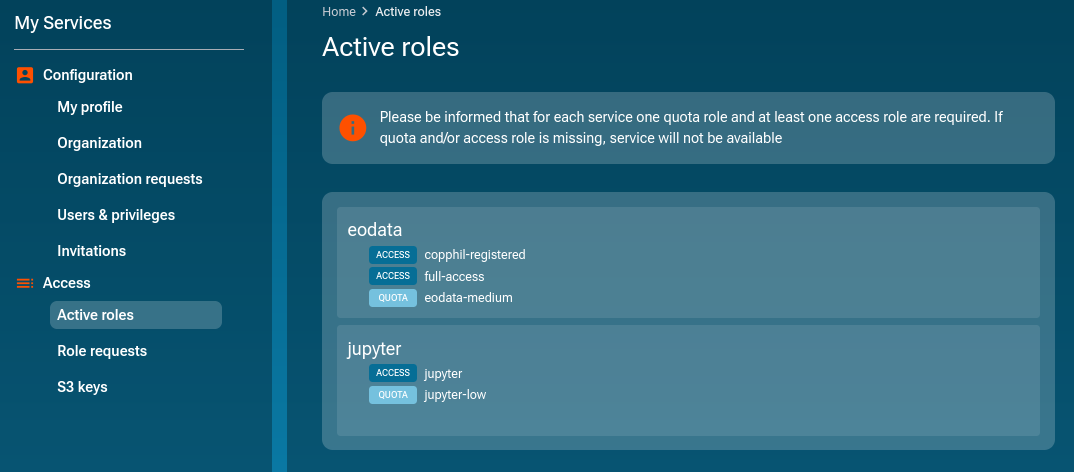
Once this happens, you should have access to all features associated with your new roles.
In the particular case of Jupyter stack roles, you should be able to start using JupyterLab page with the allocated quotas.