How to create an organization on CopPhil
In this article, you will learn how to create an organization on CopPhil. Once you create an organization, you will be able to
add users to it
define their privileges and roles
request quota role(s) and access role(s) for each of the services available on CopPhil site.
Prerequisites
No. 1 Registered account
You need to have an account registered on CopPhil: Register and create a new account on CopPhil
What We Are Going To Cover
Basic capabilities without your own organization
The notion of Operator
Requesting a new organization
Navigating to organization creation form
Filling in organization creation form
Submitting the form
Organization request getting approved by the Operator
Available options after the organization has been created
Showing current organization requests
Basic capabilities without your own organization
A role in CopPhil system is a set of system parameters defining how you can use system resources. Immediately after registration, with no need to create organization request, you get copphil-registered and eodata-low roles, providing a minimal access to the system. Option S3 keys is also present from the very start. With this setup, as a new member of the site, you can
access EO data with S3 credentials,
explore the data graphically, with Data Explorer and, eventually,
download EO data as files, using Zipper.
To use a CopPhil site to the fullest, you have to
create an organization
get the request approved by the Operator
eventually, invite users to the organization
request roles
The notion of Operator
In CopPhil, Operator is someone from CopPhil site management team with the authority to approve your request for an organization.
After the Operator approves your request for an organization, they will be able to accept role requests for that organization, if there are any.
Step 1: Navigate to organization creation form
If needed, sign in to CopPhil MyServices using this link: http://application.infra.copphil.philsa.gov.ph/
Use the panel on the left side of the website to navigate to page called Organization:
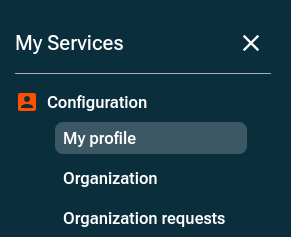
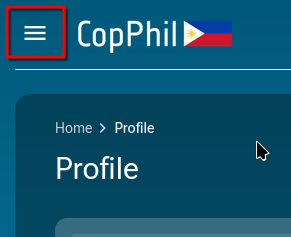
If you can’t see this panel, you can display it by clicking the “hamburger button” in the top left corner of the website:
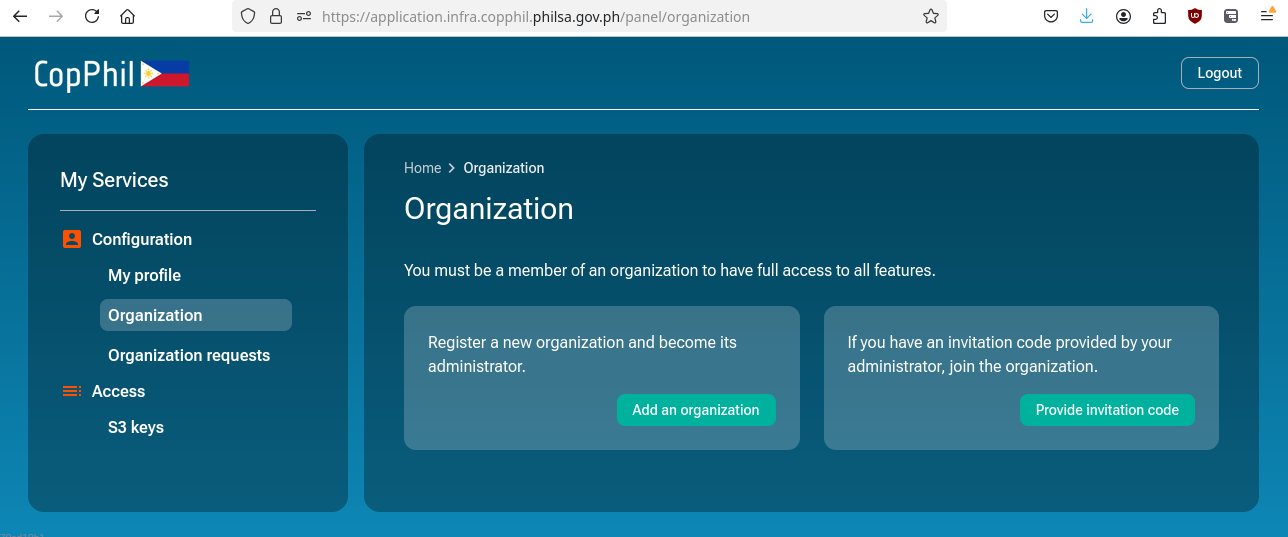
Either way, on the next page, click Add an organization:
You should now get to the following form:
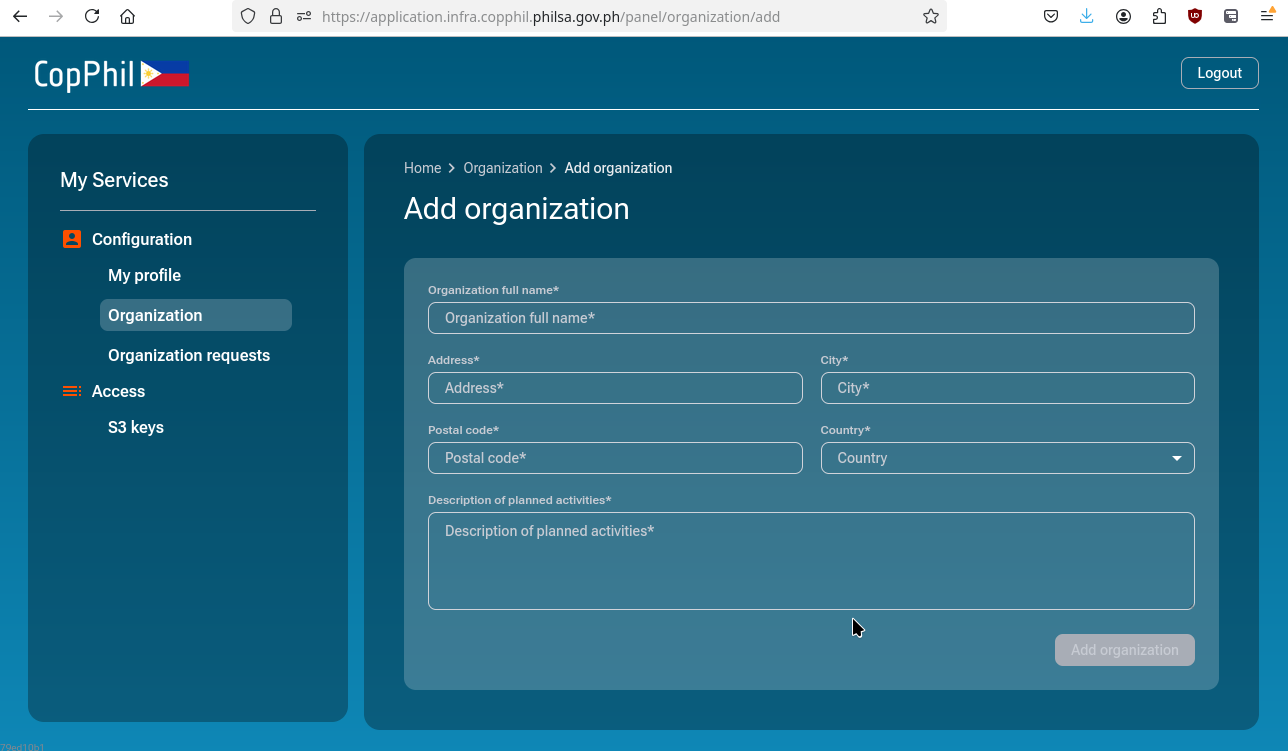
Step 2: Fill in organization creation form
Fill in the form.
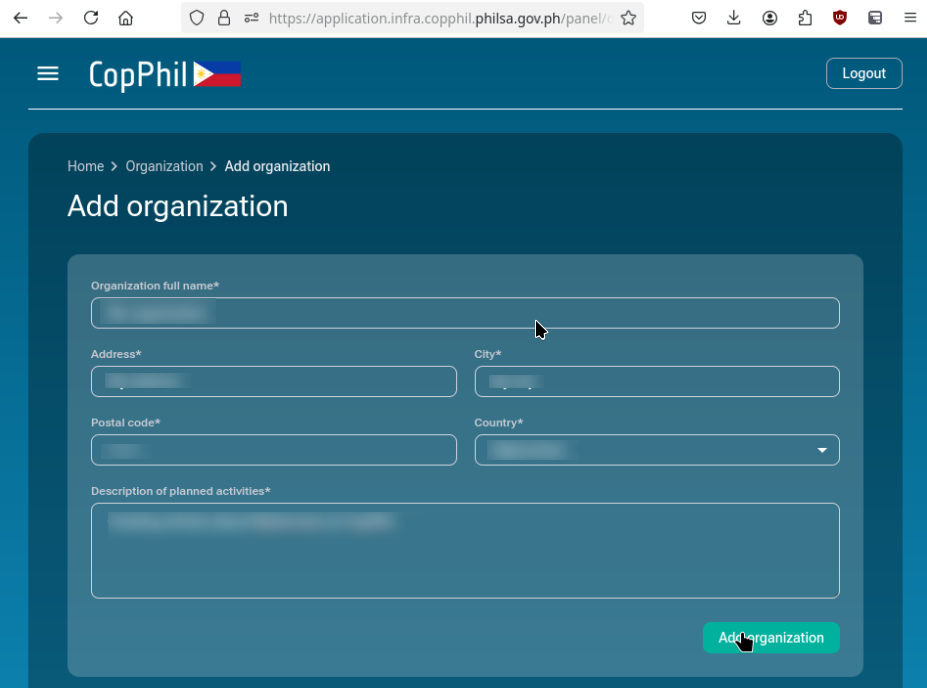
In the image above, the data are made invisible for security reasons.
Step 3: Submit the form
Click Add organization:

You should get the following confirmation:
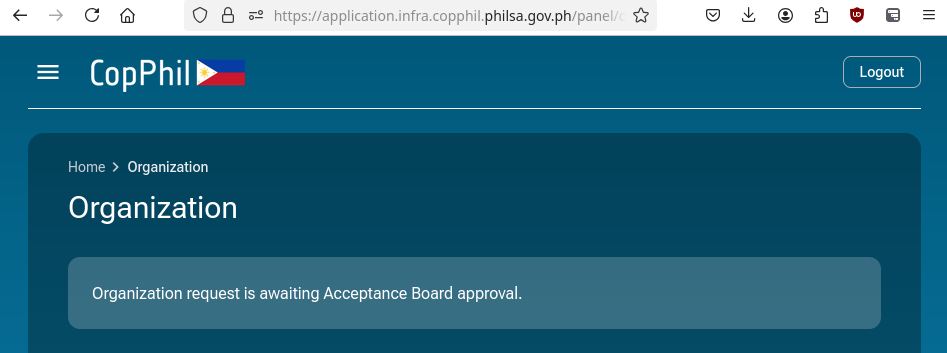
Wait until your request receives approval from the Operator.
Once it is approved, you will be able to see the new organization in your account:
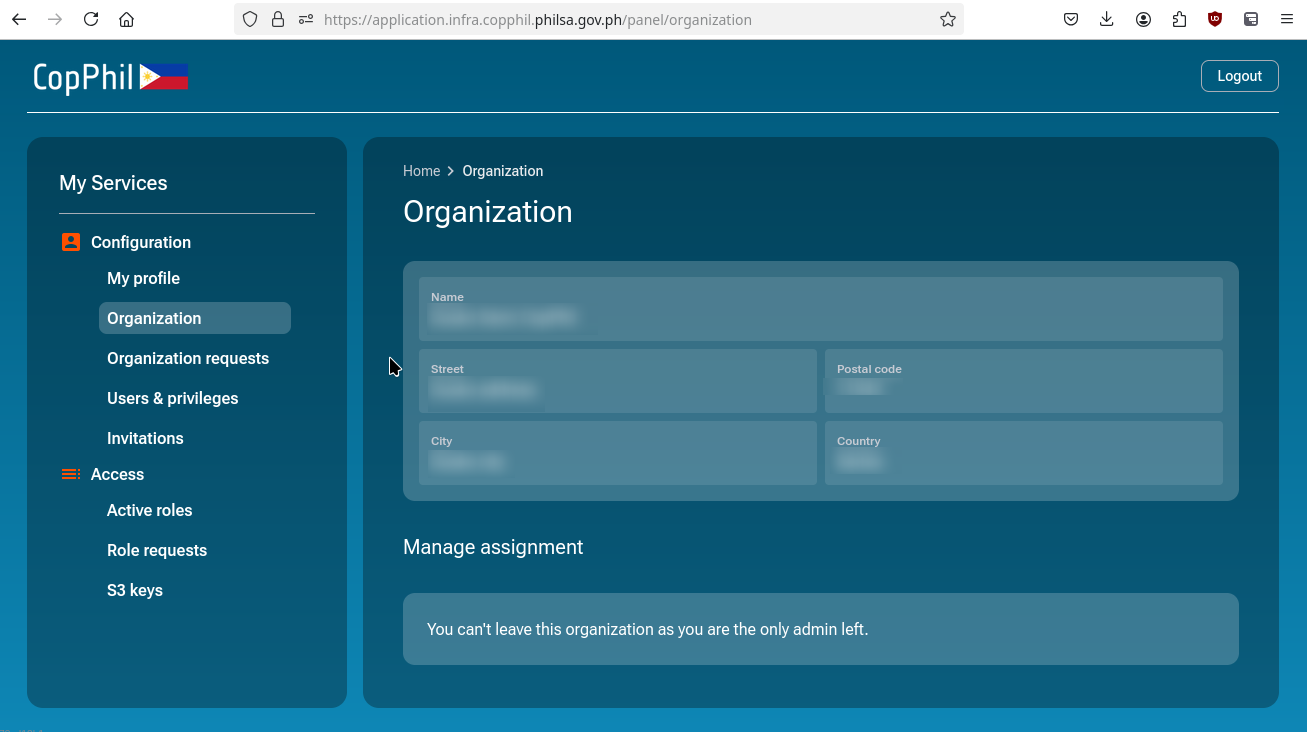
Available options after the organization has been created
You will also see completely new options that were previously unavailable under Configuration:
Organization Requests
Users & privileges
Invitations
Under Access full scope of options now becomes
Active roles
Role requests
S3 keys
Organization requests
With option Organization requests you are able to see all of the organizations you have created so far. For starters, it will show only one organization, like this:
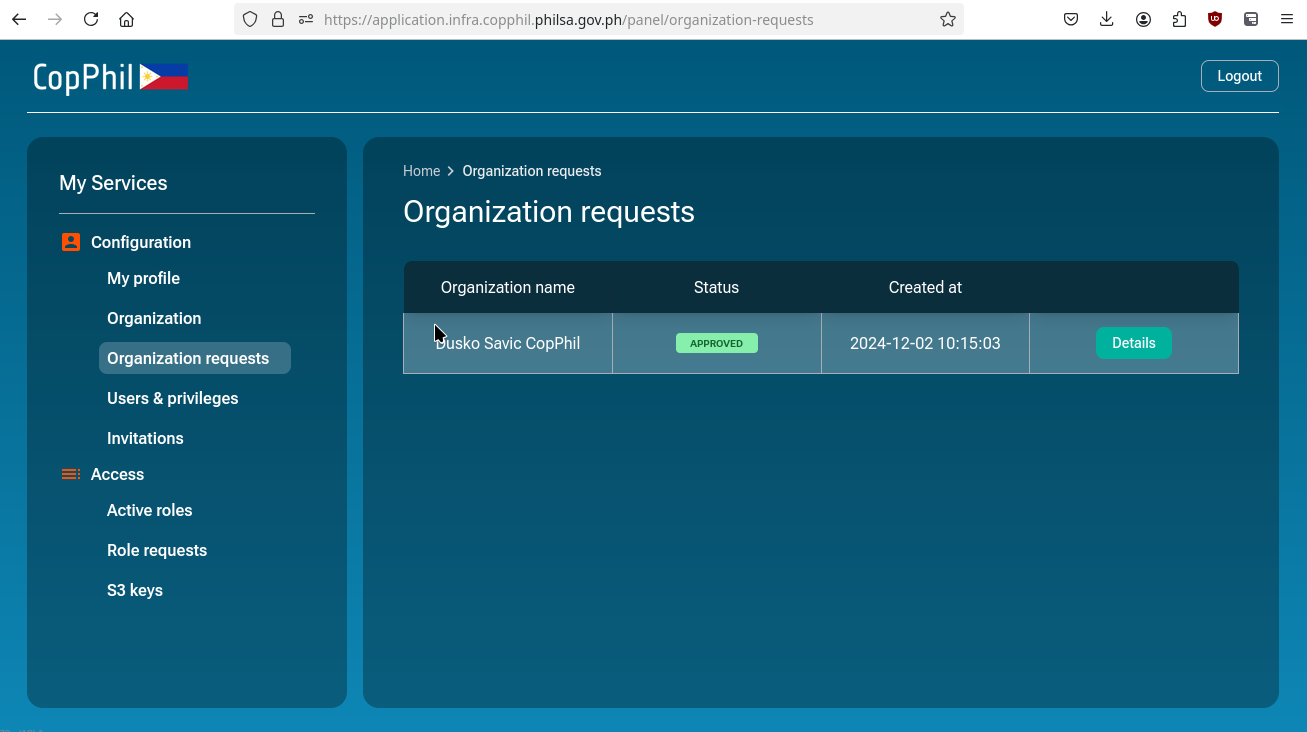
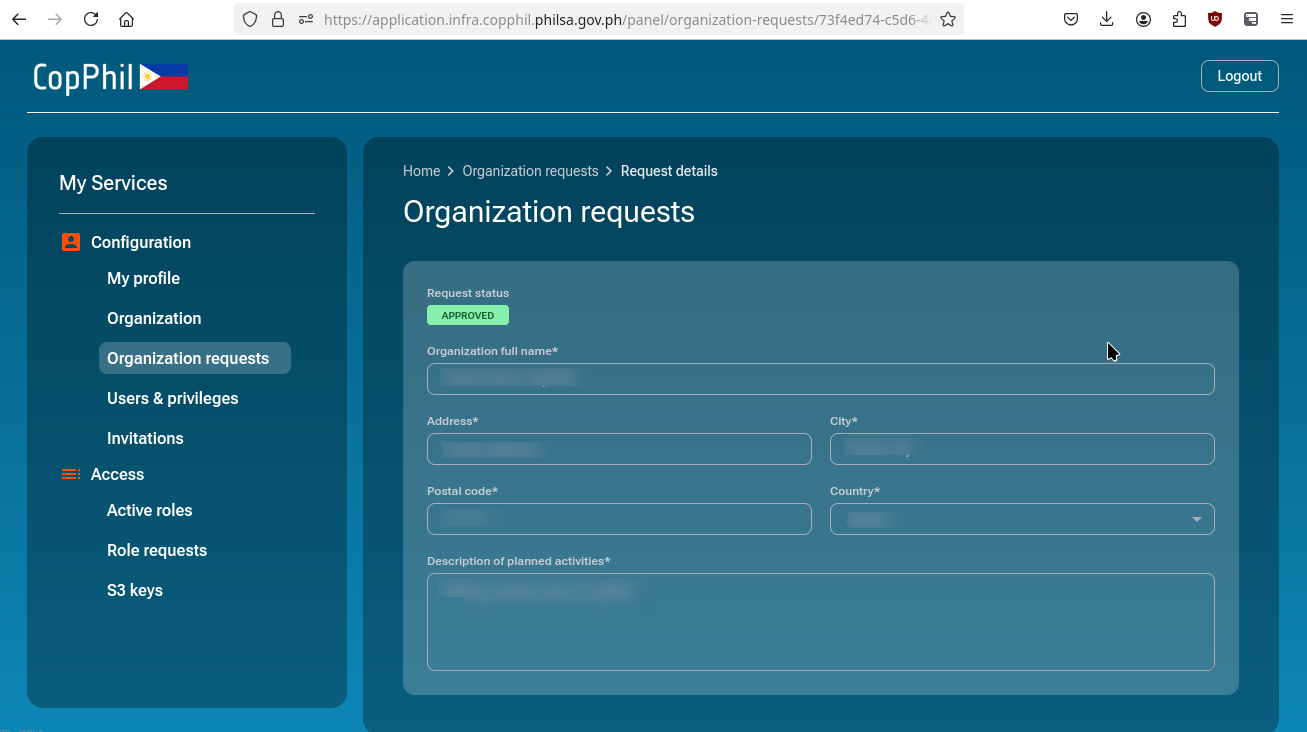
Clicking on Details will show the content of the application for organization:
What To Do Next
Further article of interest:
How to invite a user to an organization on CopPhil
How to manage users within an organization on CopPhil