Two-Factor authentication to CopPhil site using mobile application
Traditionally, the most basic way to implement security online was to authenticate users and companies with a pair of usernames/passwords. Most usernames are email addresses and if email address is breached, the bad actor can probably learn your password too. What once used to be secure enough is not secure now because of easy access to refined brute force methods, availability of computing power at scale, social engineering methods, identity theft and so on.
The way to overcome this limitation is to introduce two or more factors or types of user authentication. These could be
something the user knows (email address, the name of their first pet etc.)
something the user has (token generator, smartphone, credit card etc.) or
biometric information such as fingerprint, iris, retina, voice, face and so on.
Logging into the CopPhil site uses two-factor authentication, meaning you will have to supply two independent types of data:
the “classical” username and password, as well as
TOTP – the numeric code supplied by a concrete mobile app.
This article is about using mobile devices to authenticate to the cloud. If you want to use your computer for that, see Two-Factor Authentication to CopPhil site using KeePassXC on desktop.
We can use “mobile authenticator” as a generic term for a mobile app that can help authenticate with the account.
FreeOTP vs. Google Authenticator vs. Microsoft Authenticator
Feature |
FreeOTP |
Google Authenticator |
Microsoft Authenticator |
|---|---|---|---|
Developer |
Red Hat |
Microsoft |
|
Cost |
Free |
Free |
Free |
Open Source |
Yes |
No |
No |
2FA Method |
TOTP, HOTP |
TOTP |
TOTP, Push Notifications, Passwordless |
Cloud Backup |
No |
No |
Yes (encrypted backup to the cloud) |
Push Notifications |
No |
No |
Yes (for Microsoft accounts and other supported apps) |
Account Transfer |
Manual (QR code export only) |
QR code export for easy transfers |
Seamless transfer through cloud backup |
Customization |
Limited |
Limited |
Custom icons, rich account naming |
Integration |
Broad support for TOTP/HOTP |
Broad support for TOTP |
Best with Microsoft ecosystem; supports TOTP |
Security |
High (offline, open-source) |
High (offline) |
High (supports biometric locks) |
Biometric Lock |
No |
No |
Yes |
Multiple Device Sync |
No |
No |
Yes (via cloud backup) |
Usability |
Simple, minimalistic |
Simple, widely used |
User-friendly, feature-rich |
You can use FreeOTP with Google accounts instead of Google Authenticator app.
If you already use Google Authenticator app for other accounts, you may prefer it over FreeOTP.
Issues with mobile authenticator apps
What happens when your mobile device stops working and you lose access to important sites? Or, when you want to switch to a new device – do you have to reinstall everything manually? Here are the biggest issues each of these apps has:
- FreeOTP
No backup or sync capabilities. No recovery options.
If you lose or switch devices, recovering accounts with FreeOTP is a manual and cumbersome process. You must have backup codes or reconfigure 2FA for each account individually, and if you have many accounts, you will have to do it manually.
- Google Authenticator
No cloud backup. Limited recovery options.
If your accounts are protected by Google Authenticator and it stops working, then you risk losing all of the data that were behind those protected accounts. The most common scenario is to switch to a new phone number and then not be able to verify the accounts via a text message to the previous phone number.
- Microsoft Authenticator
Best suited for the Microsoft ecosystem. Over-reliance on Microsoft services for full functionality.
It does support TOTP for non-Microsoft accounts, however, its best features, like push notifications and seamless passwordless authentication, work only for Microsoft accounts.
In this tutorial, you are going to use the FreeOTP app.
Warning
If you lose access to QR codes and cannot log into the Horizon site for CopPhil, ask Support service to help you by sending email to the following address: info@philsa.gov.ph
What We Are Going To Cover
How to start using mobile authenticator
How to locate, download and install FreeOTP app on your mobile device
How to set up FreeOTP app and connect it to your CopPhil account
How to get new code each time you want to enter the site
Prerequisites
No. 1 Account
You need a CopPhil account. See Register and create a new account on CopPhil
See Managing an existing account on CopPhil to get to the option Set up Authenticator application.
No. 2 Authenticator application installed on your phone
You need to have an authenticator app installed on your phone.
Developer |
FreeOTP |
Google Authenticator |
Microsoft Authenticator |
|---|---|---|---|
Platforms |
Step 1 Download and Install FreeOTP
Follow the rules of your mobile device operating system and install FreeOTP in the usual manner.
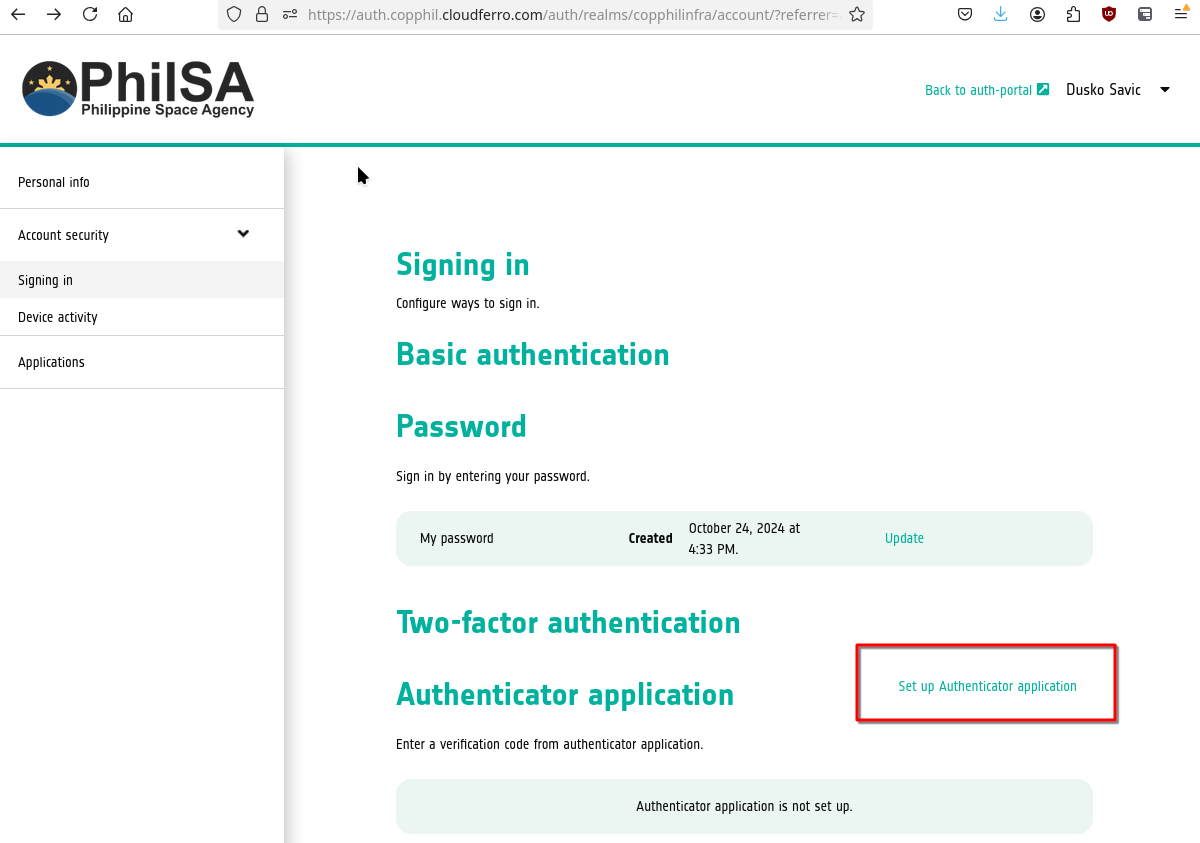
Set up two-factor authentication by navigating to your Personal info page and click on option Set up Authenticator application:
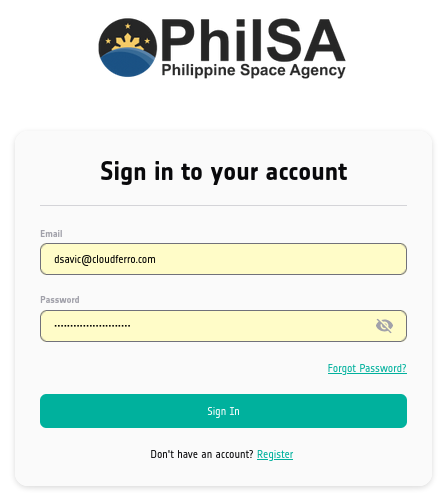
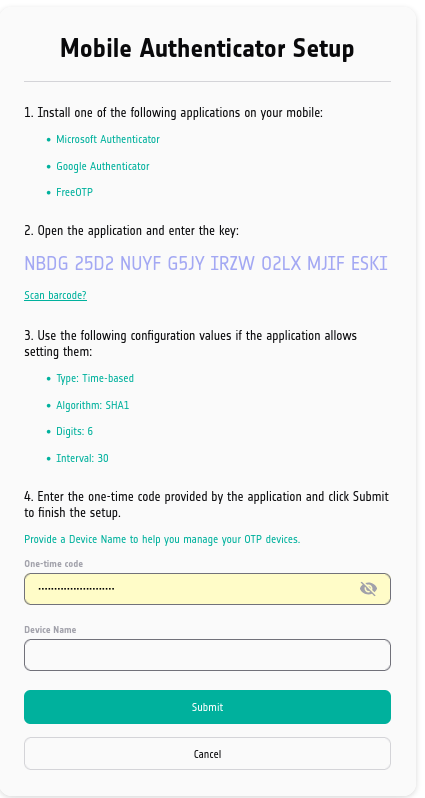
Sign into your account, as usual, and get the following form:
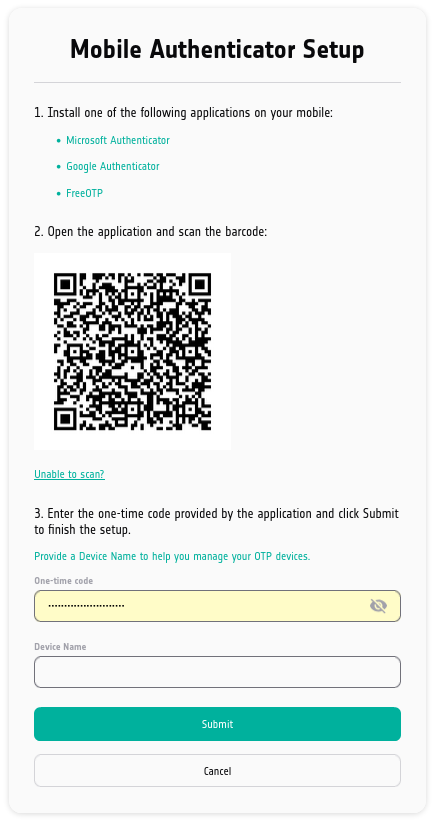
Before doing anything else, enter the name of the device into field Device Name. It is best to enter that first because you will have 30 seconds and less to enter the TOTP code into field One-time code and click on Submit.
Your next step depends on what you want to achieve.
- Option 1 Scan the QR code
Scan the QR code and set the mobile app to general TOTP code in an easy way. The downside is that you lose the ability to learn the secret code that is stored in QR image and you will not be able to automate the process by using some kind of code in Bash on Linux, in Python and so on.
- Option 2 Learn the secret code
Click on Unable to scan? and have access to the secret code, however, then you will have to manually enter the parameters into FreeOTP app. The advantage is that you will be able to automate entry of 2FA code, which is very useful when trying to automate procedures and access to the site, programmatically.
We are now going to describe the process for Option 1.
Step 2 Scan QR and Create Brand
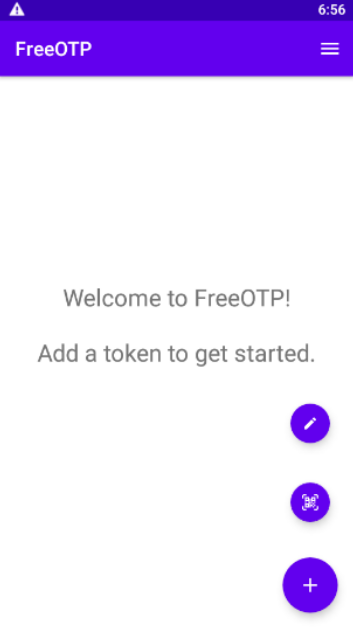
In FreeOTP, tap on plus button in the lower right corner and two additional icons will appear:
pen icon, to enter the data with Option 2
QR code icon, to scan and enter the data automatically.
Tap on QR code icon and bring the device in front of the QR code. A new row in list of TOTP codes will appear immediately, it will be called CopPhil Infrastructure and will also show your email address (which here doubles as a user name). The process is complete.
Now tap on that row and it show a six digit code, which you have to enter into field One-time code and click Submit.
Note
Each time you click on submit or refresh the screen, you need to scan the QR code again!
You are now ready to log into the CopPhil site using the two-factor authentication.
How to Start Using the Mobile Authenticator With Your Account
To test the 2FA procedure, log out of the account and sign in to it again.
Use the usual link https://infra.copphil.philsa.gov.ph to log into your CopPhil account and choose CopPhil in the input menu.
In the next step you will be invited to enter the six-digit TOTP number that you get by tapping the appropriate row on FreeOTP app:
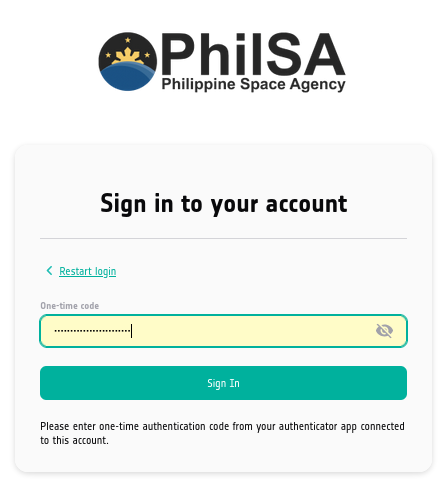
Tap on CopPhil Infrastructure row in FreeOTP and a six digit number will be shown.
Retype it to the form on screen and click Sign In.
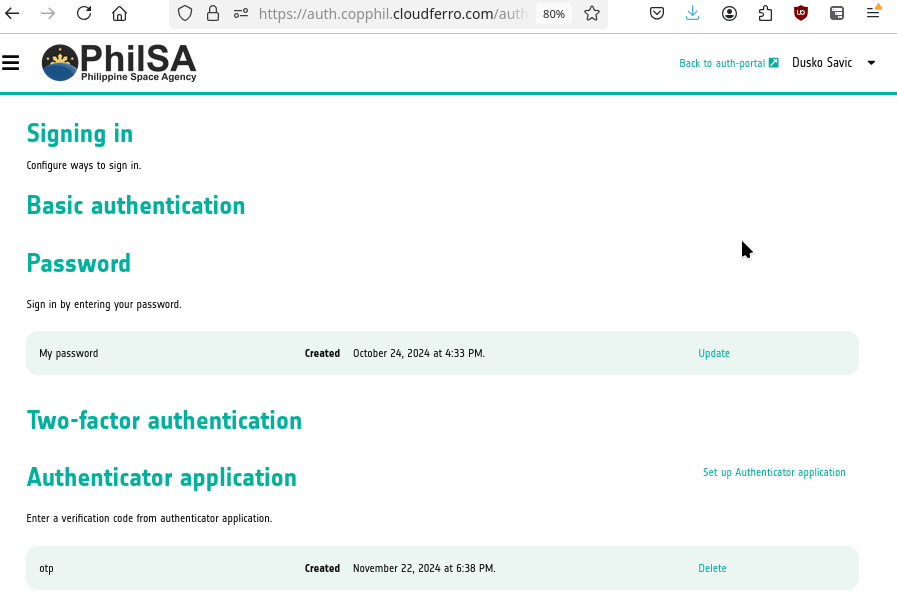
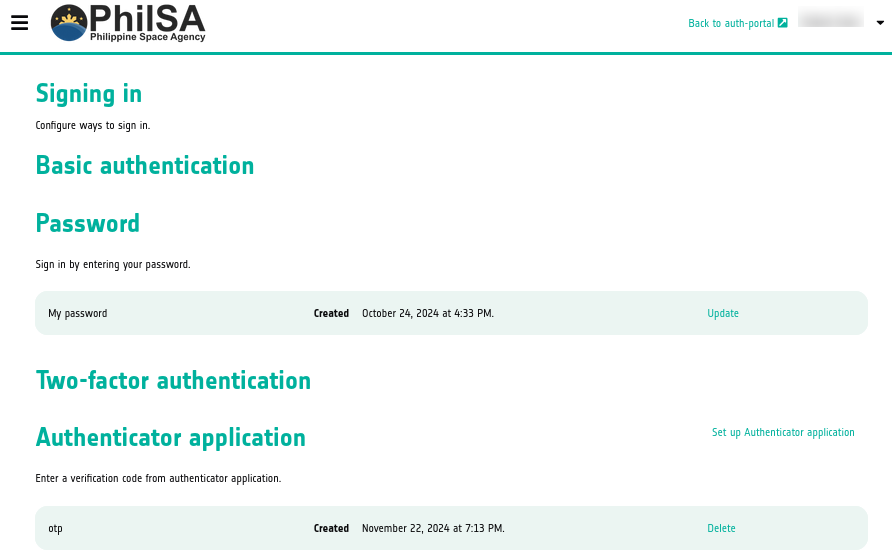
You’ll be back to the usual profile screen, with the addition of one row at the bottom. In it, if you click button Delete, this question will appear:
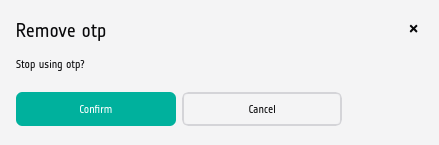
and if you confirm, you will be back to simpler sign in, without providing two-factor data.

Option 2 Entering secret code into FreeOTP
Click on Unable to scan? in form Mobile Authenticator Setup and you will see the secret code for 2FA access:
Just as was the case with QR code, each time the page is refreshed, a new secret code will appear, forcing you to renter data, so pay attention!
You have to enter all of the data that are shown:
- key
Also known as token, on this image it is NBDG 25D2 NUYF G5JY IRZW O2LX MJIF ESKI
- Type
Time-based
- Algorithm
SHA1
- Digits
6
- Interval
30
To enter those data into FreeOTP, tap on icon plus and then on pen icon. On the next screen, you enter the data:
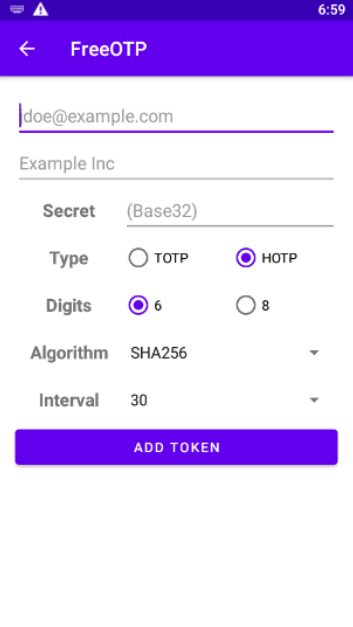
Instead of jdoe@example.com, enter you own email address. Instead of Example Inc, enter the name of the site to which you are applying. For CopPhil, enter CopPhil infra or anything else that will remind you of the site you are working with.
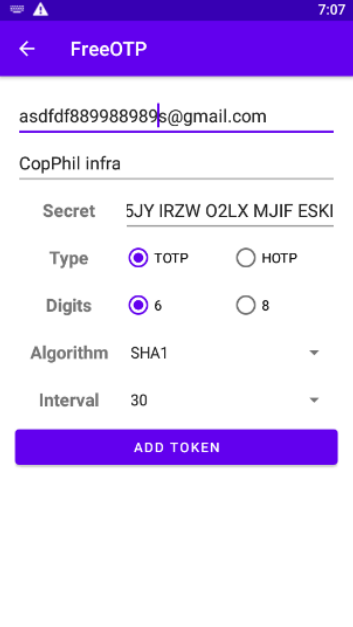
The most difficult part is entering the Secret, into which you have to enter the key (token in FreeOTP parlance) from the site. Now, you can do it manually, painstakingly enter 32 upper-case letters. Or, you can copy the secret from the screen, put it into some kind of a messenger app that you have both on the computer and on the phone and send it to you. Or, you can use just email… the choice is yours.
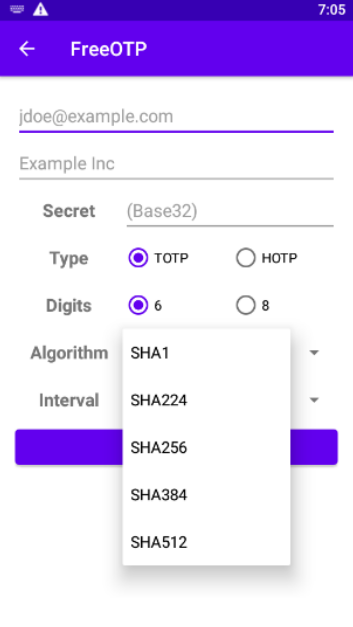
For other fields, select TOTP instead of HOTP, for Digits you want 6 which is the default, and for Algorithm, you want SHA1:
When all is entered, this is the last screen before clicking on ADD TOKEN.
This is the result: one row in FreeOTP app and when you click on that row, you get a six-digit code to be entered as TOTP:
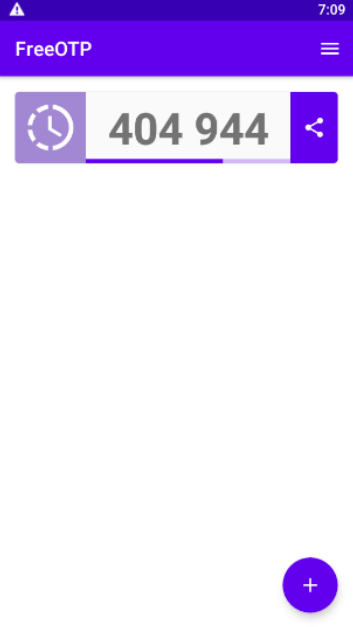
If the time has passed, just tap on it again, another six-digit code will show up, copy that to the authenticator form and eventually, you will get to the profile screen, with the authenticator app active: