Create example polygon file with QGIS for use with Data Explorer on CopPhil cloud
In this article, you will learn how to create an example file with a polygon using QGIS. You will then be able upload it to Data Explorer to limit search results in that service.
File created in this article will be available for download.
Prerequisites
No. 1 QGIS installed
If you want to follow along the example with .geojson geometry file, you need to have free and open source piece of software called QGIS installed.
It can be downloaded from https://qgis.org/download/
What We Are Going To Cover
Drawing polygon
Exporting polygon
Exporting polygon as .geojson
Exporting polygon as .kml
Draw polygon
Open QGIS.
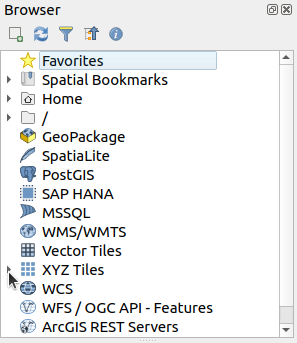
To display OpenStreetMap, expand entry called XYZ Tiles in Browser window by left clicking the arrow next to it:
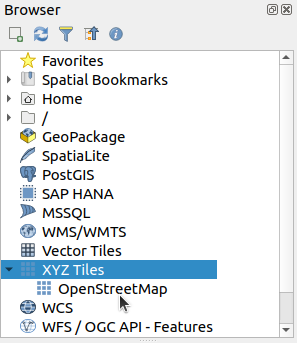
Double-click OpenStreetMap:
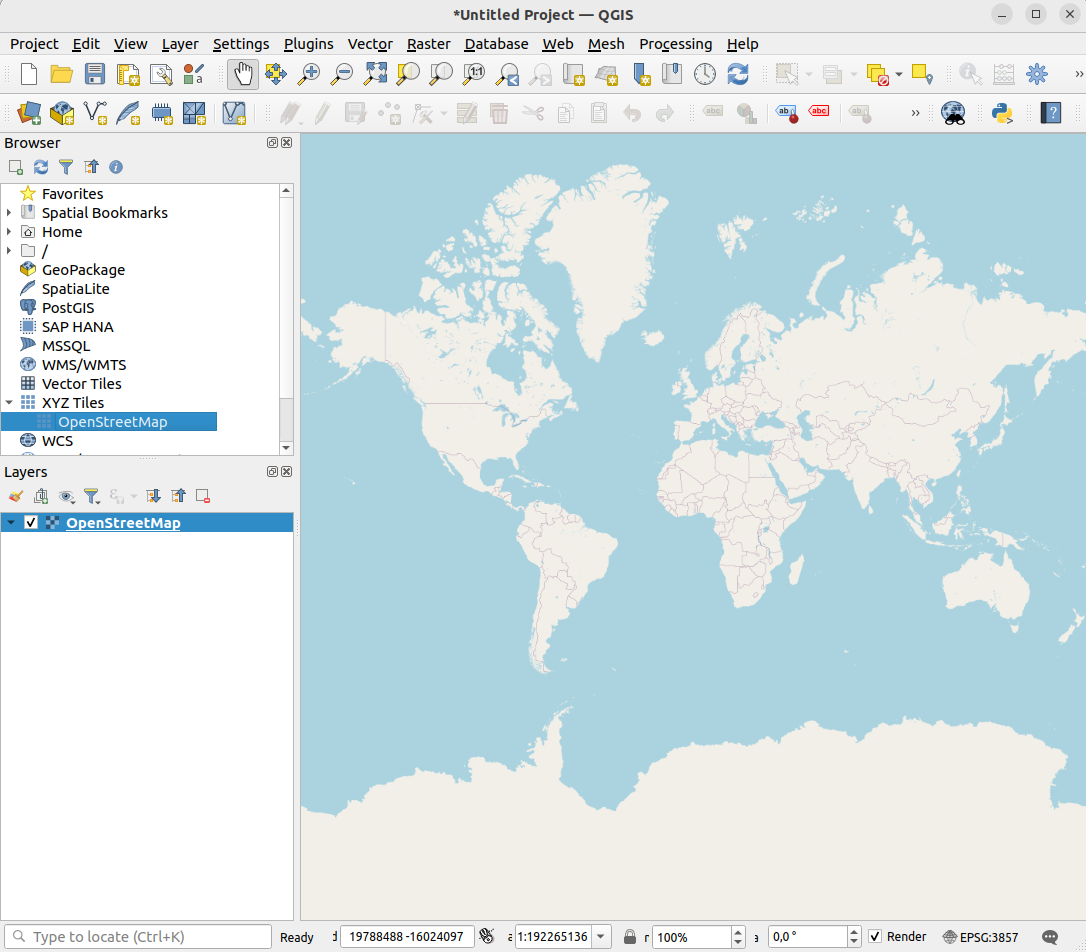
In the main window, OpenStreetMap should appear:
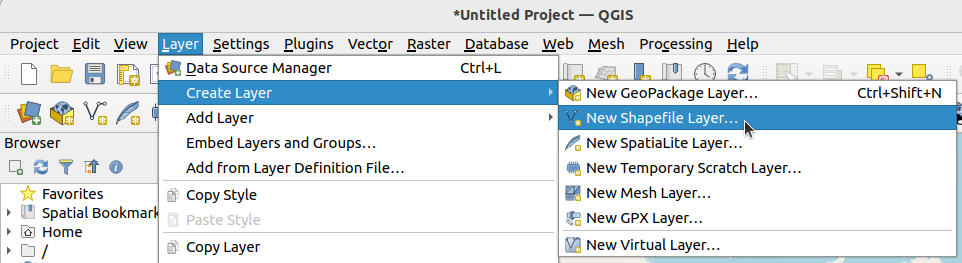
From the Layer menu, choose Create Layer and New Shapefile Layer:
The following window should appear:
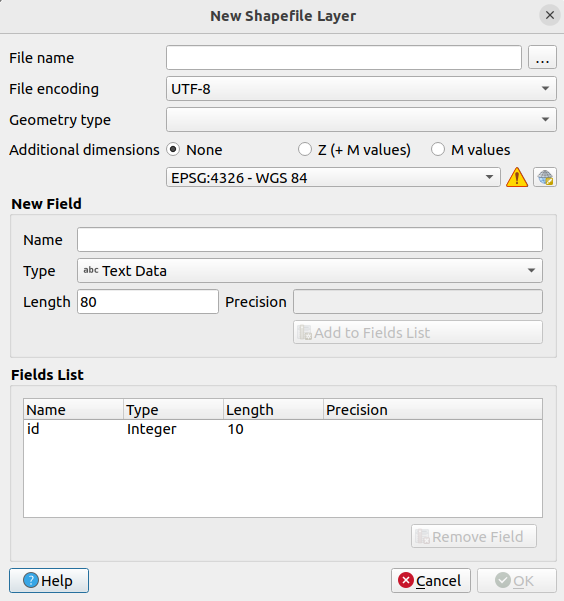
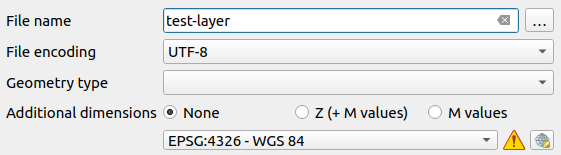
Enter the name of the file to text field File name, for example:
From the drop-down menu Geometry type choose Polygon:
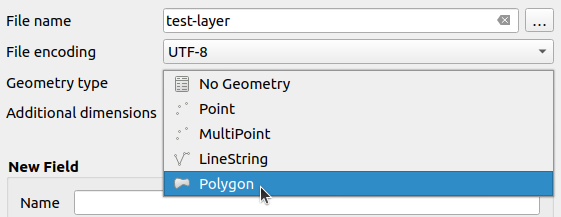
Click OK.
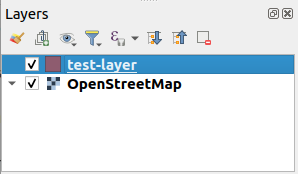
Your new layer should appear in the Layers window:
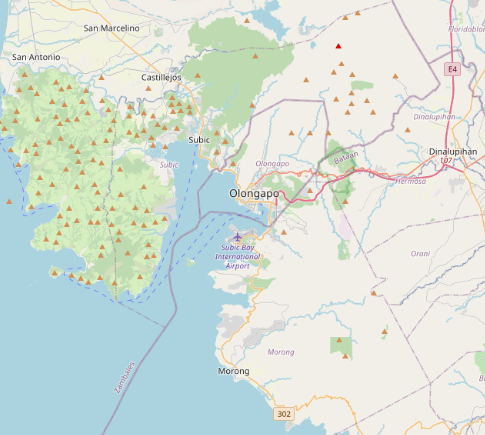
Navigate around the map to the place you wish your polygon to be located. Use the left-mouse button to drag and mouse wheel to zoom in and out. In this example, our polygon will be around the City of Olongapo:
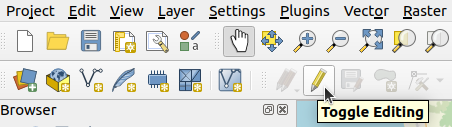
To start drawing the polygon, first click on the toolbar option Toggle Editing (pencil icon):
After that, click Add Polygon Feature
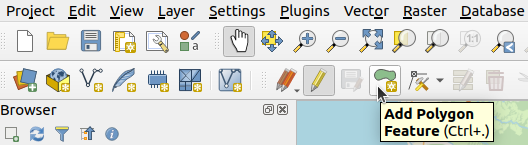
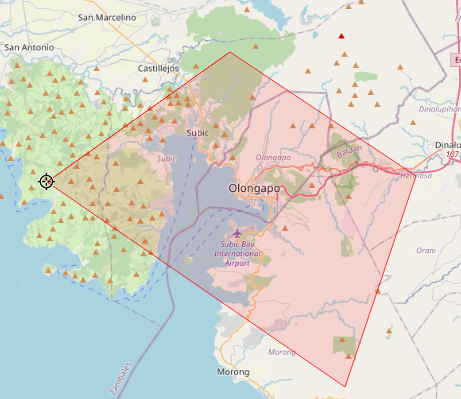
You should now be able to add points of your polygon by left-clicking on the map:

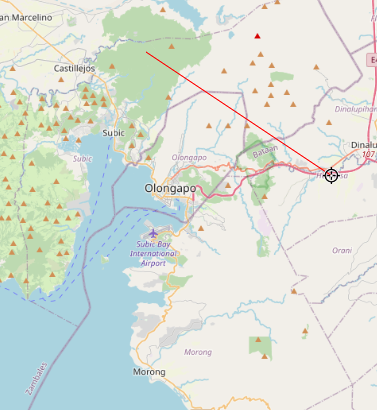
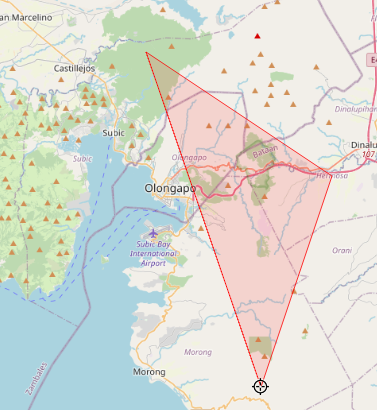
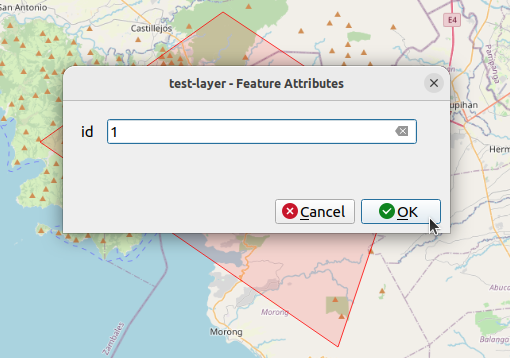
To finish drawing the polygon, right-click. The prompt for ID should appear. Enter 1 and click OK
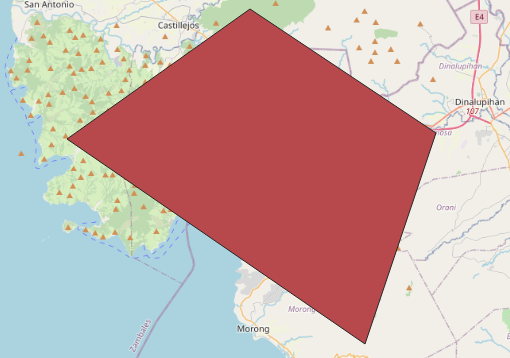
Your polygon should now be colored:
Export polygon
In the Layers window, right-click the layer you’ve created and choose Export and Save Features As…
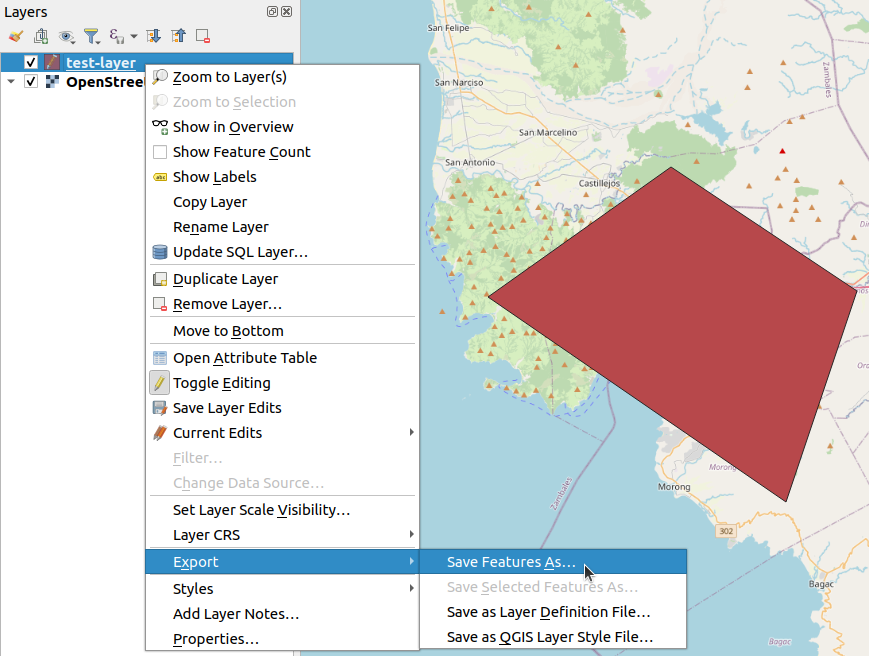
With this window, you can export this file to a variety of formats. We will cover .geojson and .kml files types, both of which are supported by Data Explorer.
Export polygon as .geojson
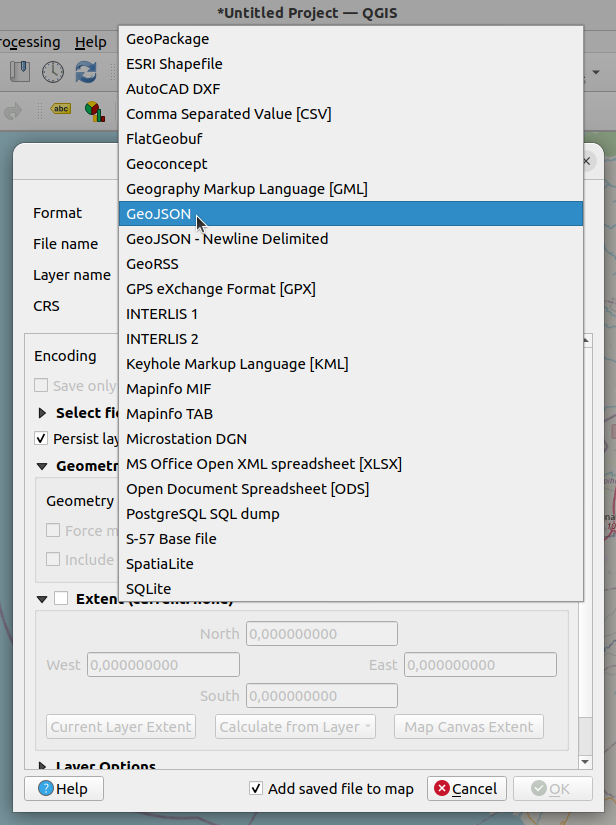
In the window which appeared, from the drop-down menu Format choose GeoJSON
In the text field File name, enter the name of the GeoJSON file to which you want to save your polygon. You can also click … button next to it to choose the exact folder to which you want to save your file.
Note that file extension .geojson should be added automatically to the file name you provide.
Click OK to save your file.

On top of the map, you should get the confirmation similar to this:

Export polygon as .kml
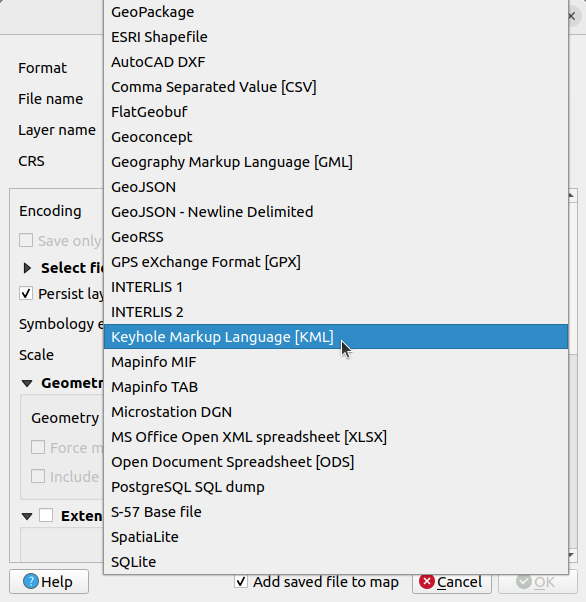
In the window which appeared, from the drop-down menu Format choose Keyhole Markup Language [KML]
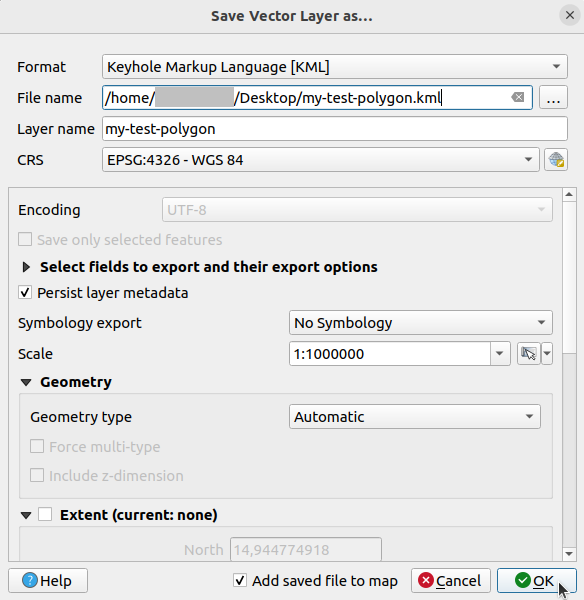
In the text field File name, enter the name of the GeoJSON file to which you want to save your polygon. You can also click … button next to it to choose the exact folder to which you want to save your file.
Note that file extension .kml should be added automatically to the file name you provide.
Click OK to save your file.
You should now get the following window:
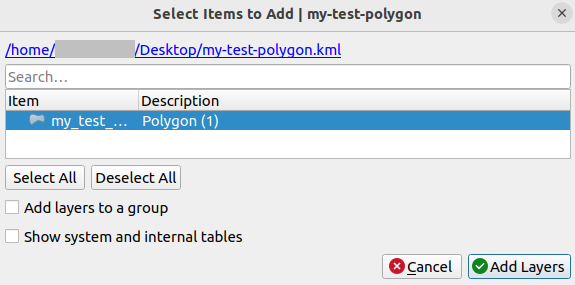
Click Add Layers.
On top of the map, you should get the confirmation similar to this:

Downloadable files
Here are download links and contents of files which were created while following this article.
GEOJSON file
Download my-test-polygon.geojson
{
"type": "FeatureCollection",
"name": "my-test-polygon",
"crs": { "type": "name", "properties": { "name": "urn:ogc:def:crs:OGC:1.3:CRS84" } },
"features": [
{ "type": "Feature", "properties": { "id": 1 }, "geometry": { "type": "MultiPolygon", "coordinates": [ [ [ [ 120.262380991974183, 14.944774917729358 ], [ 120.423054497377123, 14.841257555900208 ], [ 120.361722137787851, 14.664997278821152 ], [ 120.10429899472291, 14.836247391147067 ], [ 120.262380991974183, 14.944774917729358 ] ] ] ] } }
]
}
KML file
<?xml version="1.0" encoding="utf-8" ?>
<kml xmlns="http://www.opengis.net/kml/2.2">
<Document id="root_doc">
<Schema name="my_test_polygon" id="my_test_polygon">
        <SimpleField name="id" type="int"></SimpleField>
</Schema>
<Folder><name>my_test_polygon</name>
  <Placemark>
        <Style><LineStyle><color>ff0000ff</color></LineStyle><PolyStyle><fill>0</fill></PolyStyle></Style>
        <ExtendedData><SchemaData schemaUrl="#my_test_polygon">
                <SimpleData name="id">1</SimpleData>
        </SchemaData></ExtendedData>
      <MultiGeometry><Polygon><outerBoundaryIs><LinearRing><coordinates>120.262380991974,14.9447749177294 120.423054497377,14.8412575559002 120.361722137788,14.6649972788212 120.104298994723,14.8362473911471 120.262380991974,14.9447749177294</coordinates></LinearRing></outerBoundaryIs></Polygon></MultiGeometry>
  </Placemark>
</Folder>
</Document></kml>
What To Do Next
You can use your example .geojson or .kml file in Data Explorer to limit your search results: How to search for products using Data Explorer on CopPhil